Overview
The moderation overview provides at-a-glance monitoring of community violations, ensuring administrator awareness of community activity.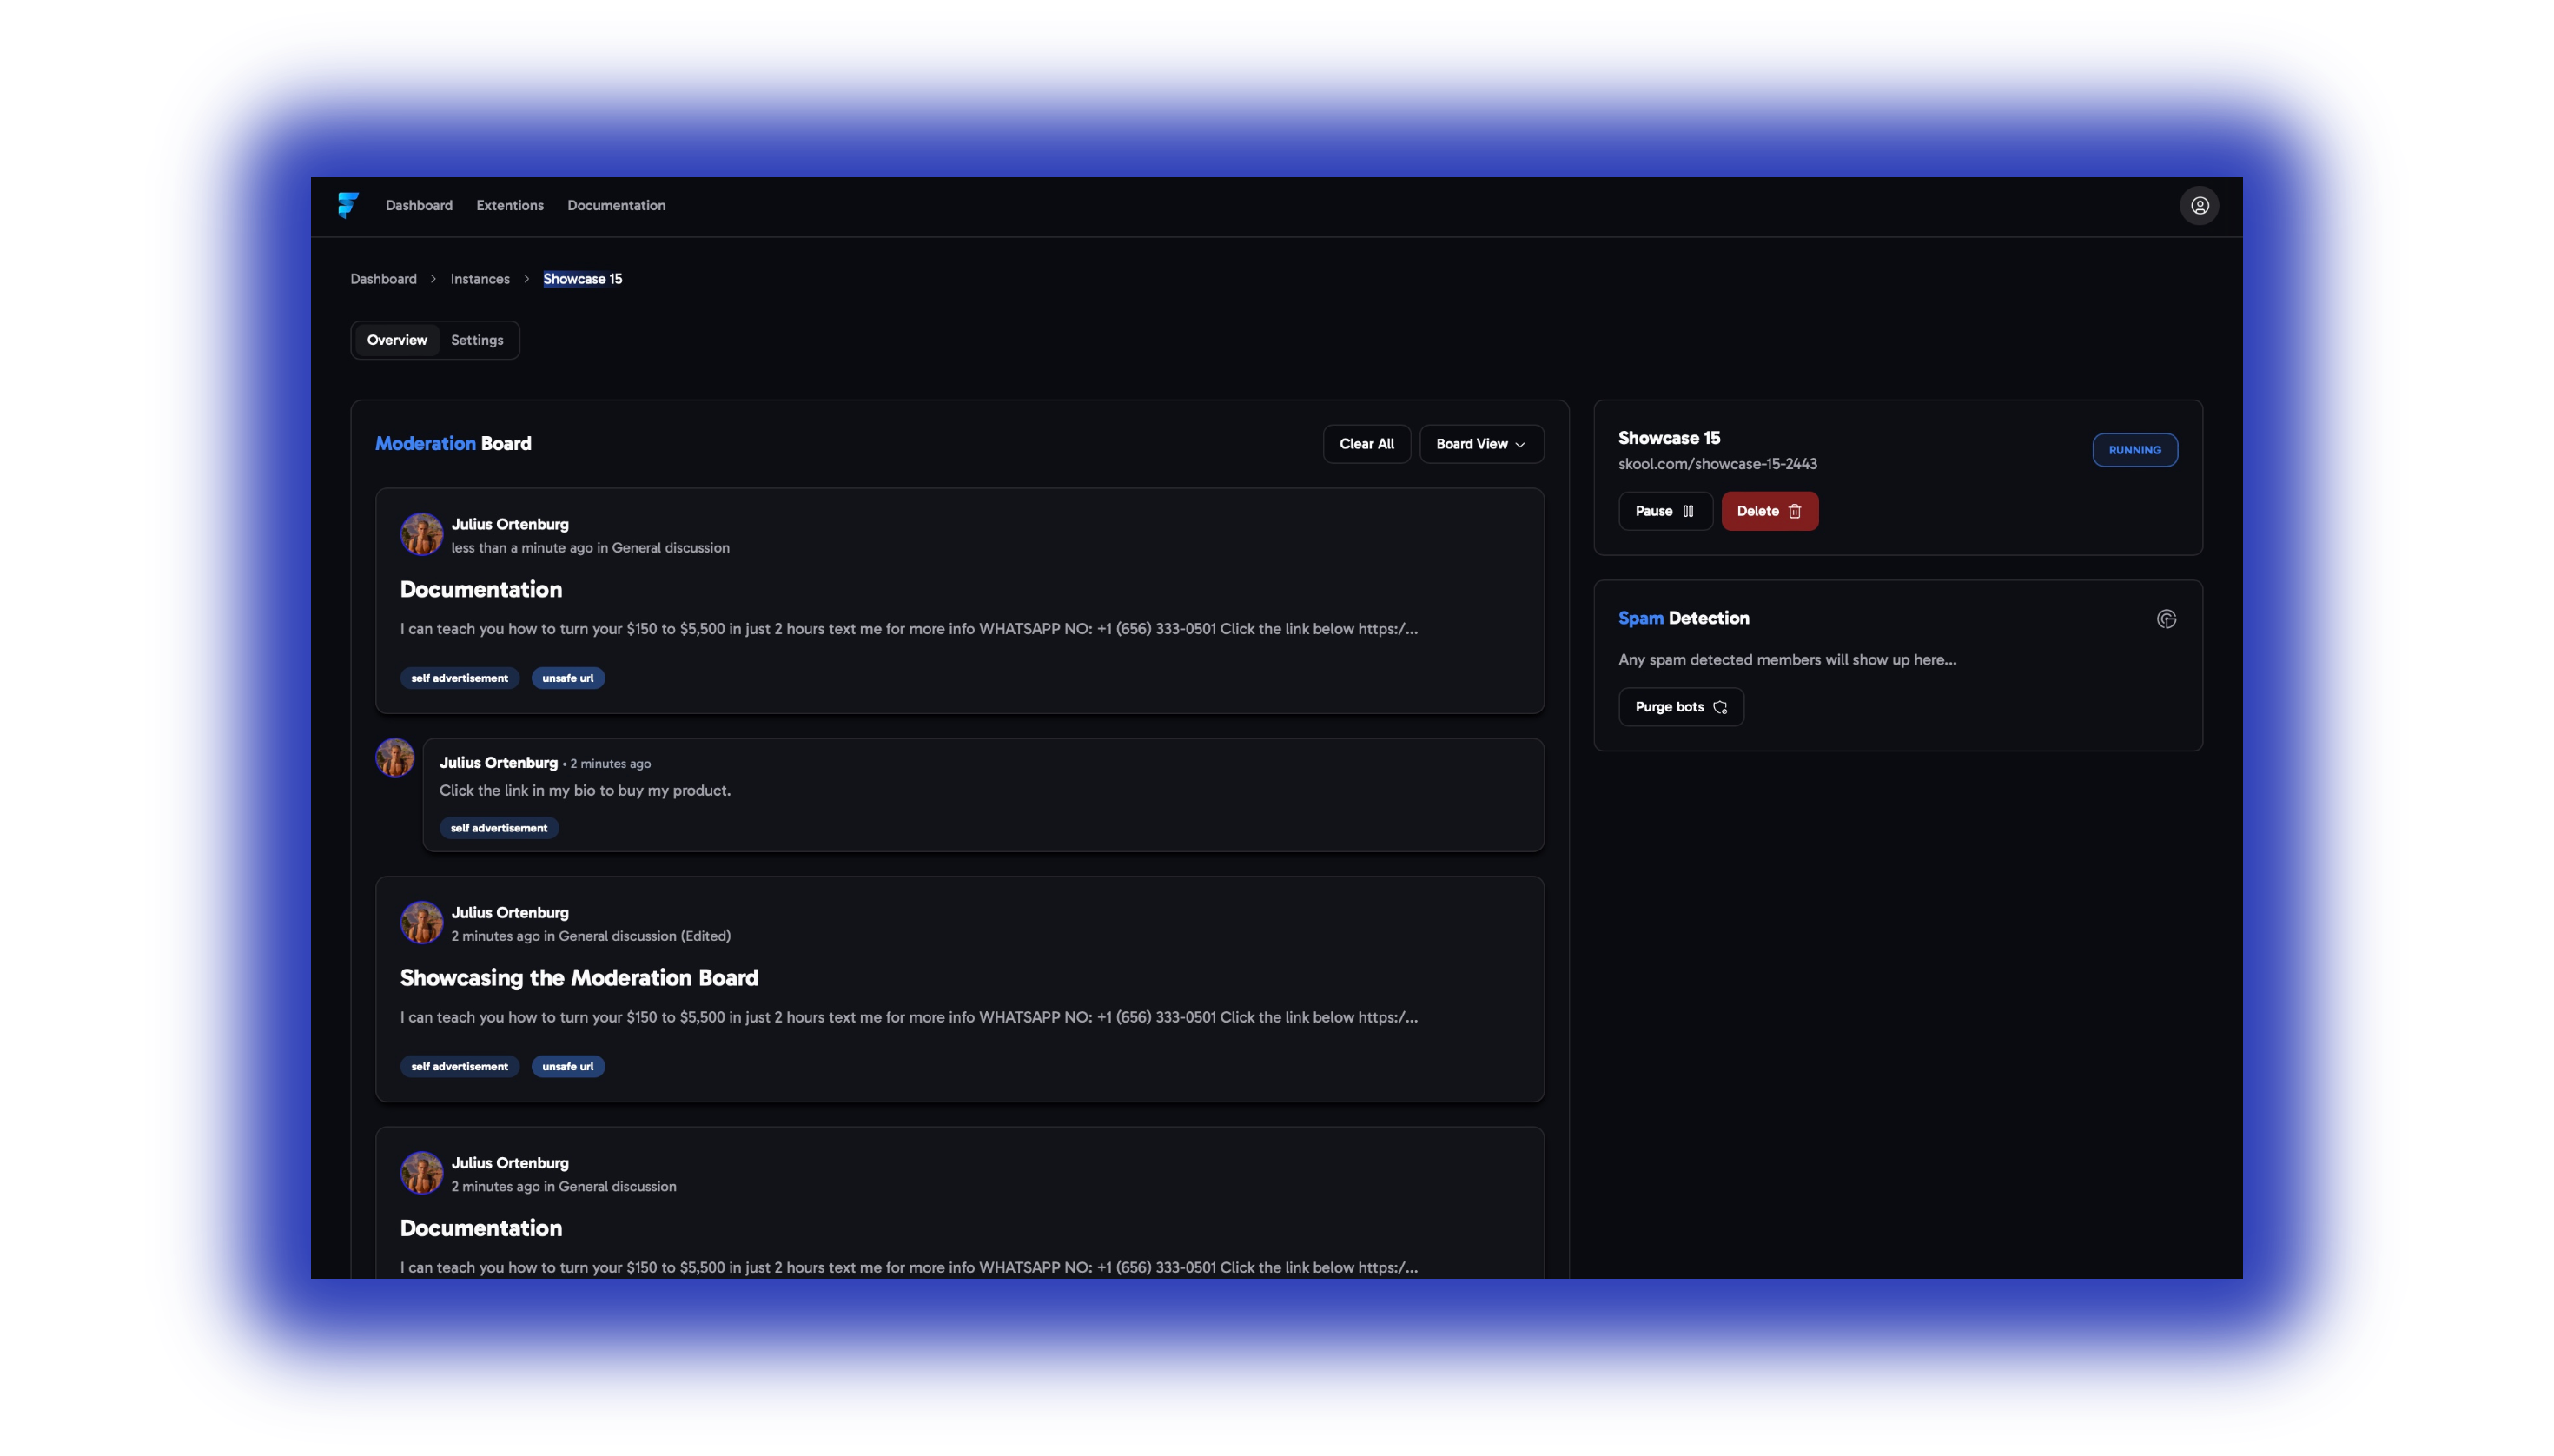
Moderation Board
The moderation board is where all the violations of your community rules will be listed. It’s comparable with Skool’sReported tab, but has some additional options.
Violation tagging
Violation tagging
Each violation gets tagged with the rule it has disobeyed and if you hover over the rule you can see the confidence by which it was flagged.

Actions & Options
Actions & Options
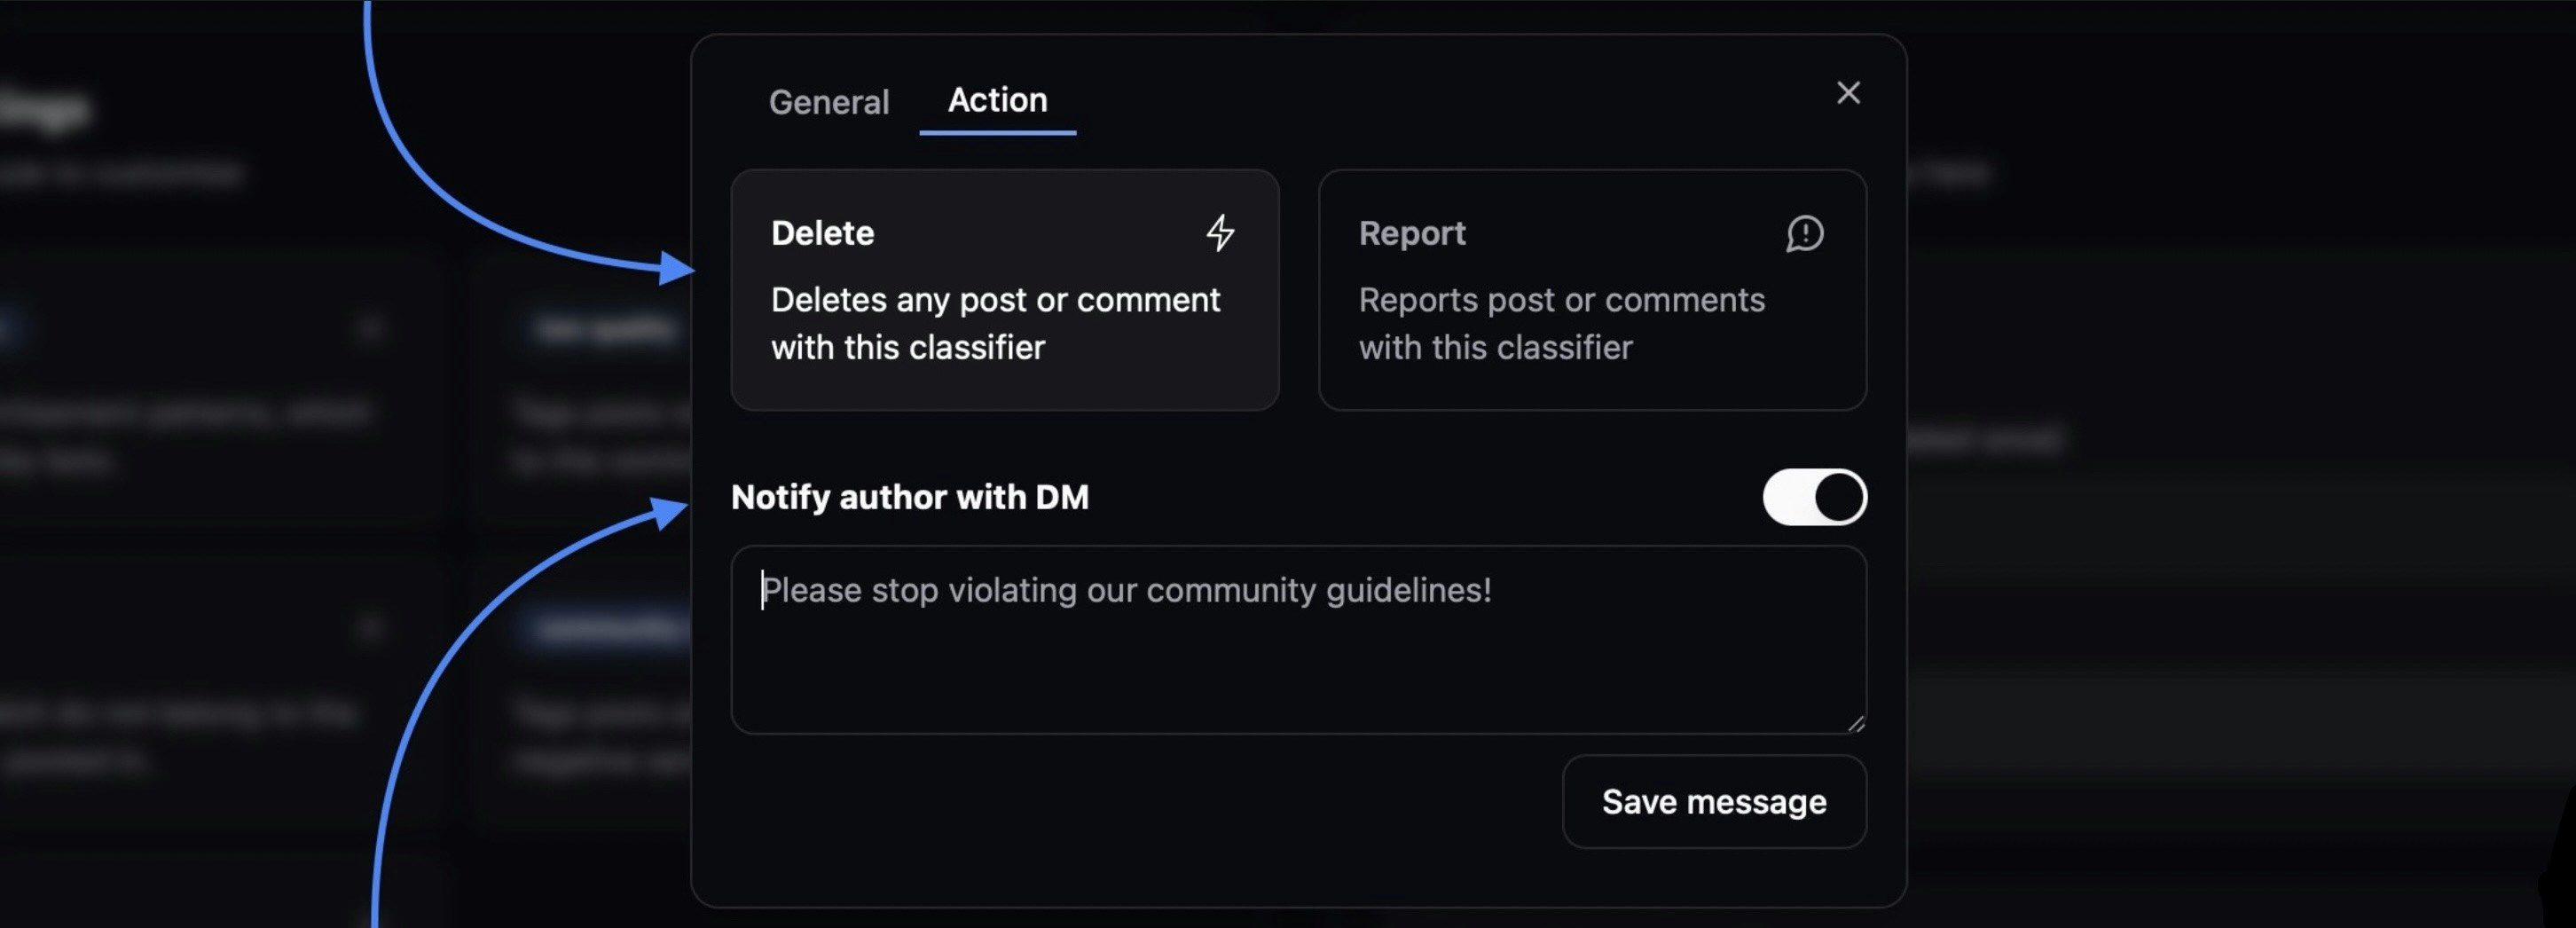
If you click on the violation and head over to the three dots, you get 3 options…

Side-note: Posts/comments will be completely removed and will not be shown as ‘’deleted’’ in the community.
Side-note: For our enterprise users we also train a custom AI model tailored to their specific community needs.

Additional Options
Additional Options
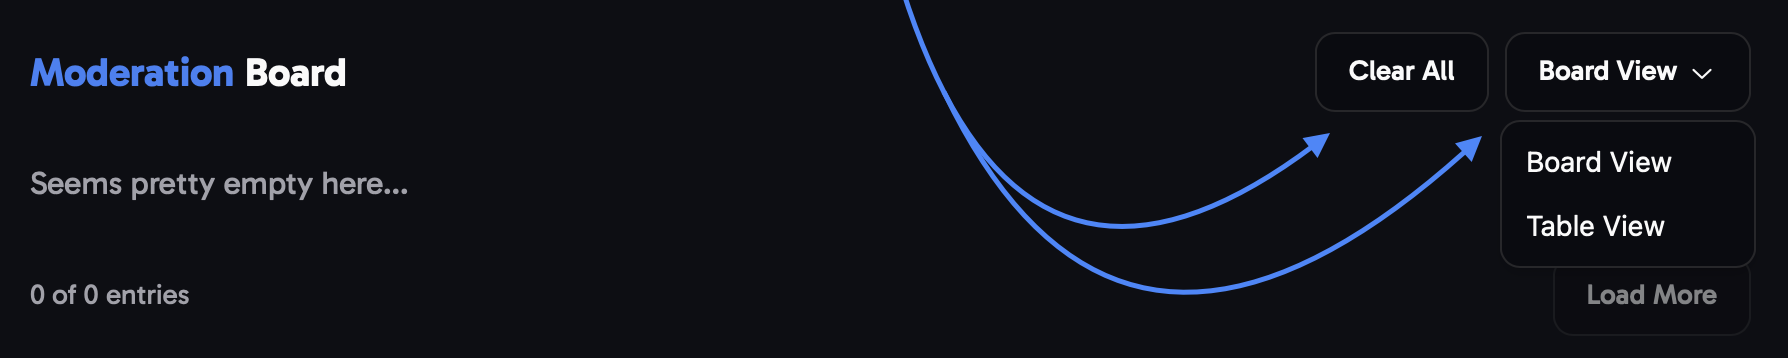
- At the top of the moderation board you have the option to clear out the entire board using the ''Clear All” button and have the previous violations removed out of the moderation board with one click.
-
Right next to the clear all button, you can distinguish between using the board- or table view.
Instance Status
In the top right, you can check if the status of the tool in your community. You always have the option to stop or delete your instance from there.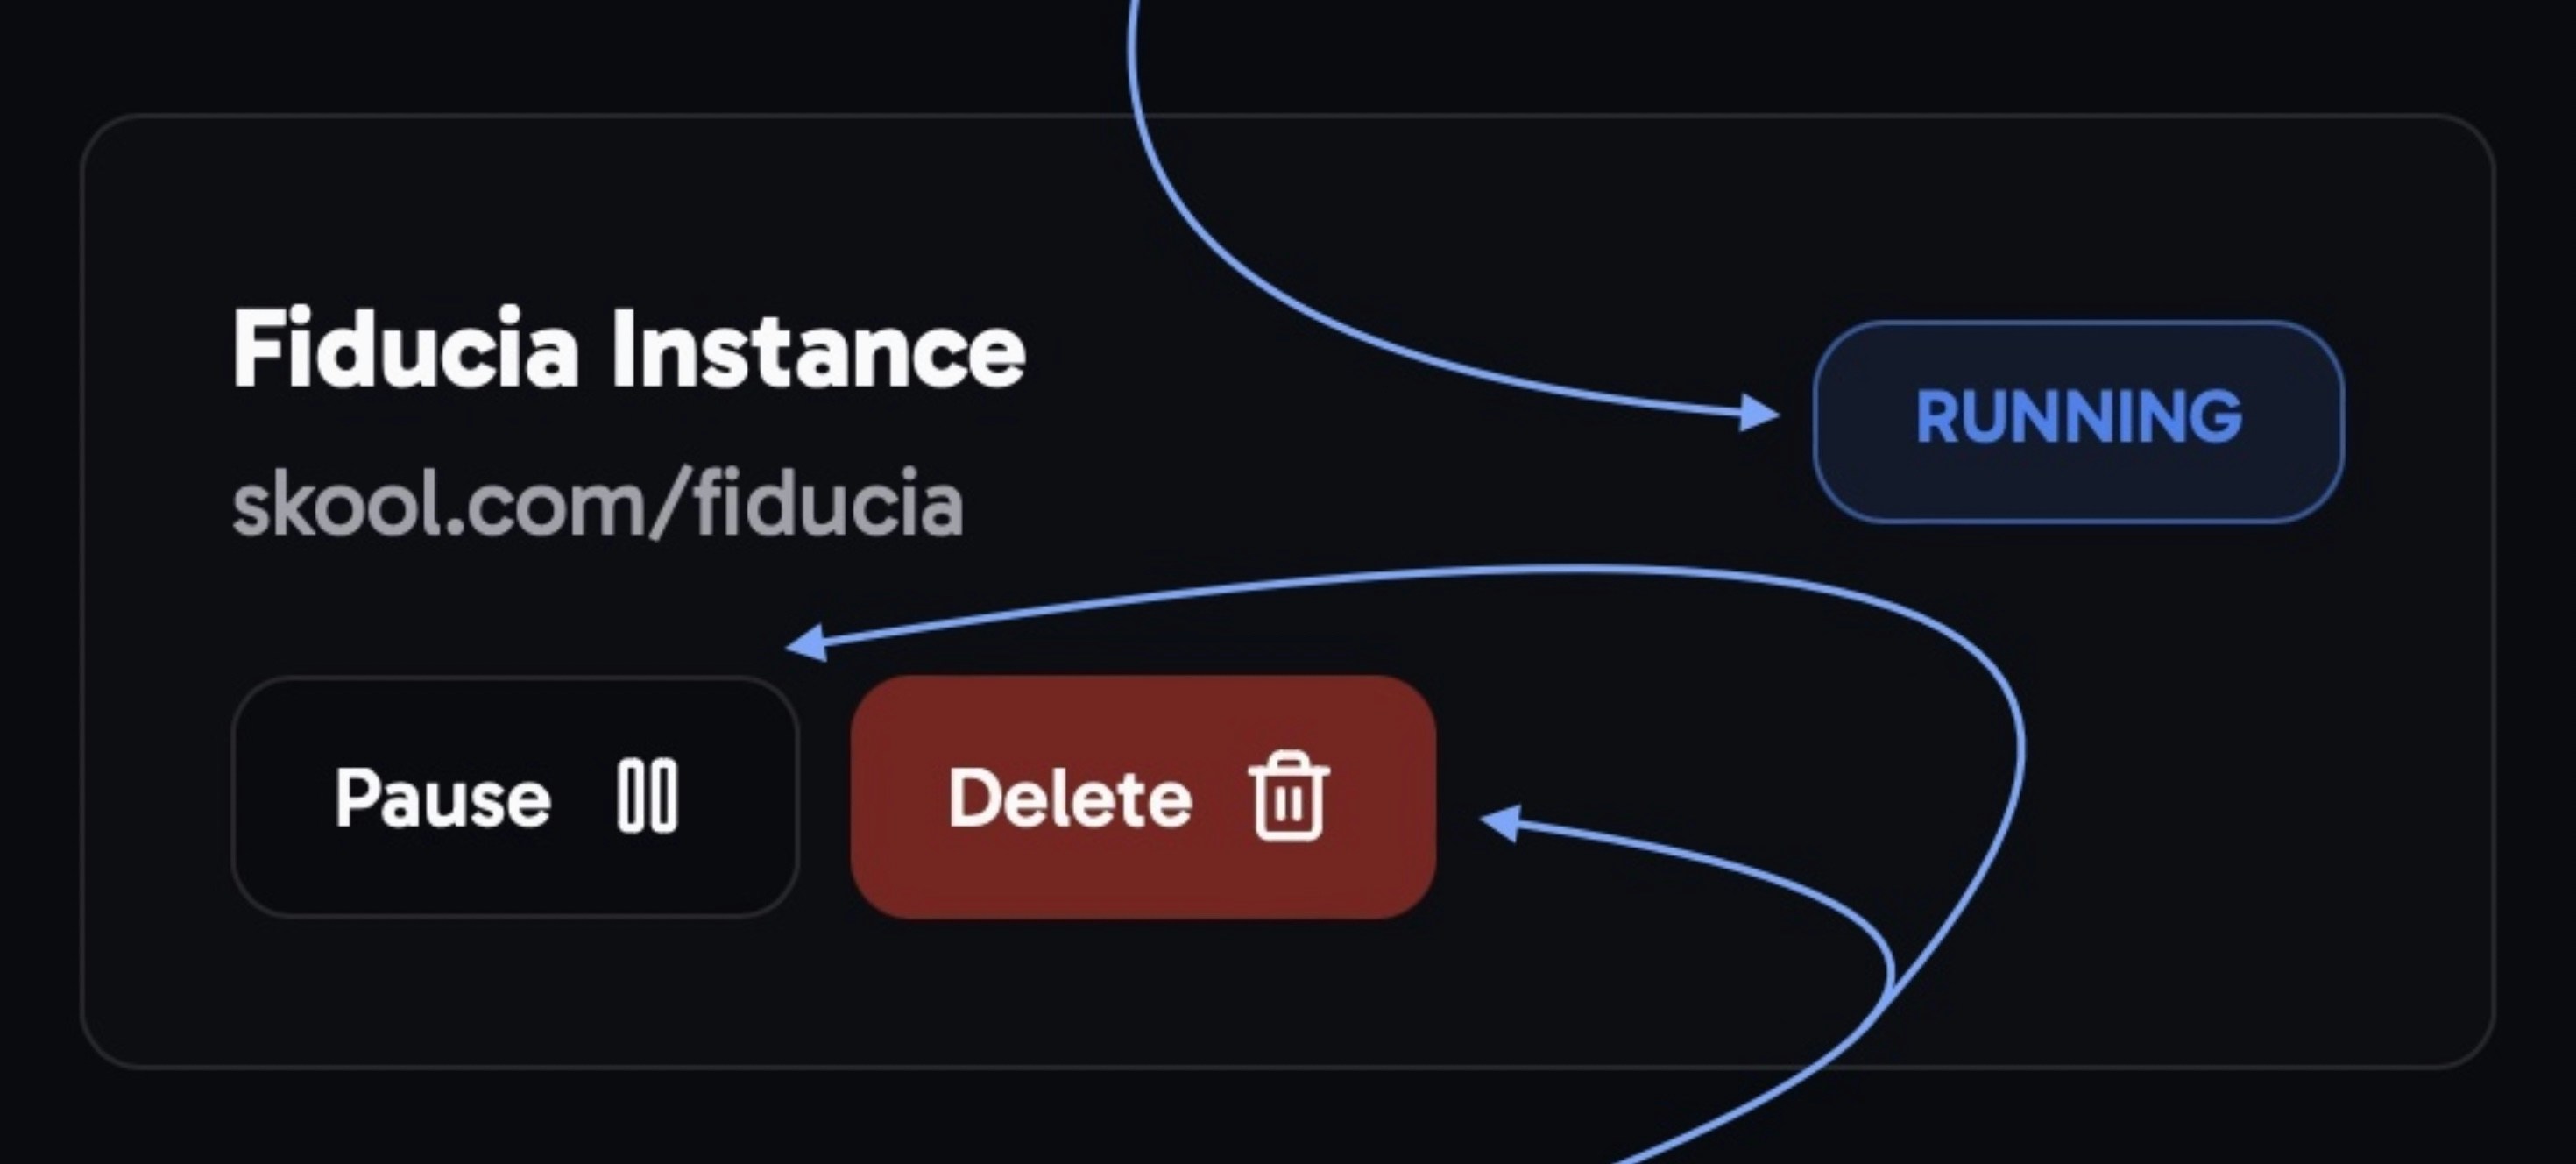
Spam Detection
- Spam detected members: All Spam detected members in your community will show up here
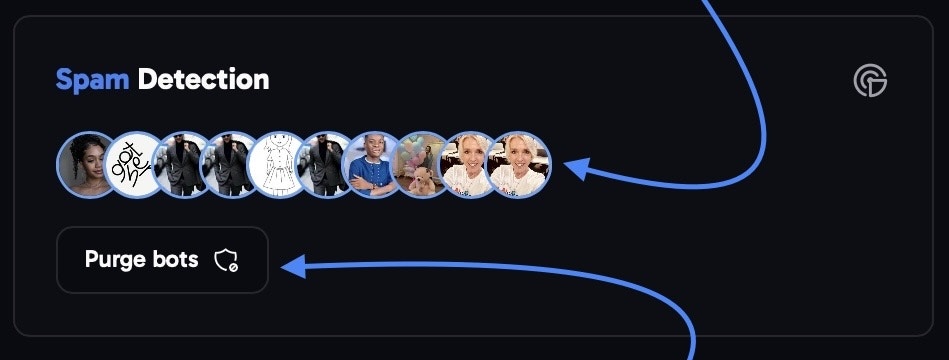
- Purge bots button: The ‘’Purge Bots’’button will automatically kick any accounts which are known to bot accounts. For example Jessica Mark, Linda Mark, etc.
Settings
 Classifier Settings
The Classifiers are our pre-installed default community rules. How to properly use and customize these will be described in the following.
Default cassifiers
Default cassifiers
- self advertisement: Detects self-advertisement in your community and people promoting their own services/products.
- low quality: Tags posts which do not contribute any value or benefit to the community.
- community negativity: Tags posts and comments that contain negative sentiment towards your community or it’s owner.
- unsafe url: This classifier detects unsafe URLs in posts and comments.
-
miscategorized: Detects posts, which do not belong to the category they are posted in. (experimental)

Classifier settings
Classifier settings
→ To customize a classifier, you first need to click on it.General tab:
After clicking on the classifier you want to customize, using the threshold you can determine how strict the AI is with the individual rule.
Custom Rules
Custom Rules
Additionally you can add your own custom rules by click on the ‘’+ Add’’ button.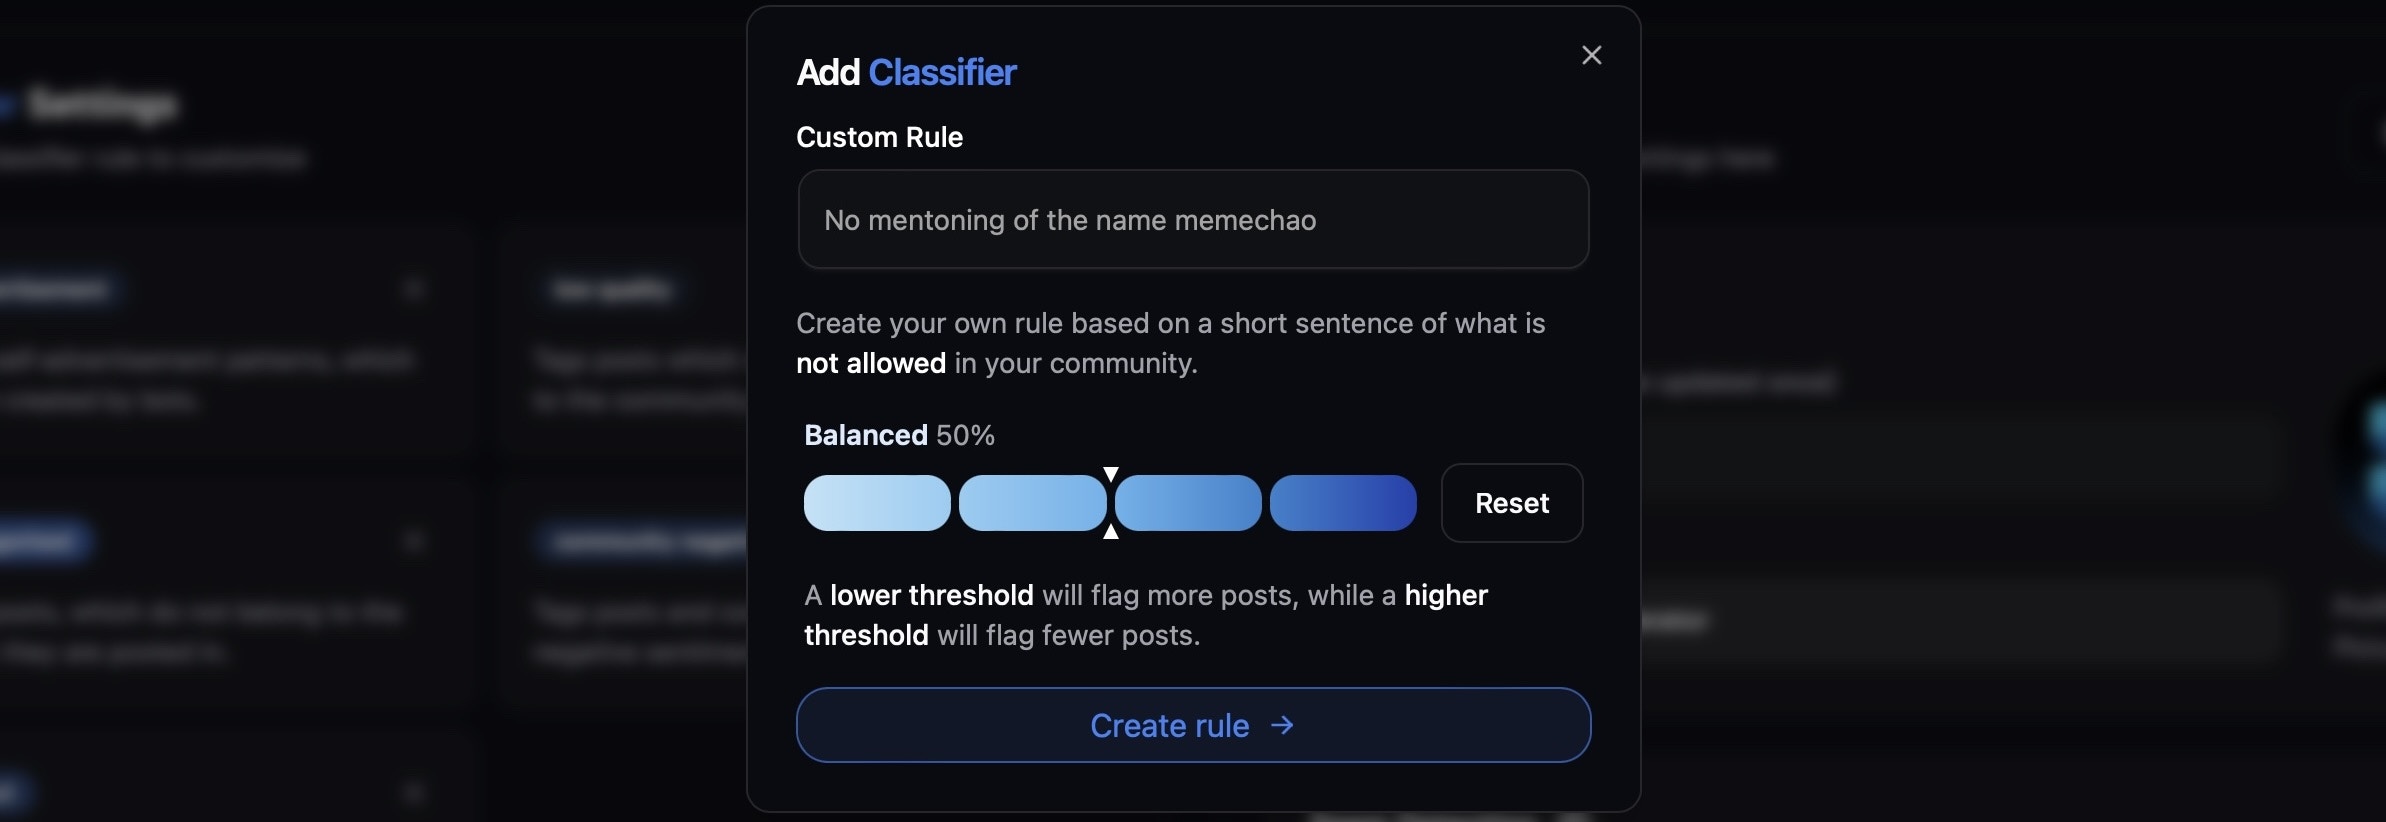
This is especially useful if you have very unique community guidelines which aren’t incorporated in our default classifier rules.
Instance Settings
Appearance
Appearance
you can change the Appearance of the Fiducia profile, which joins your community, giving it your own branding: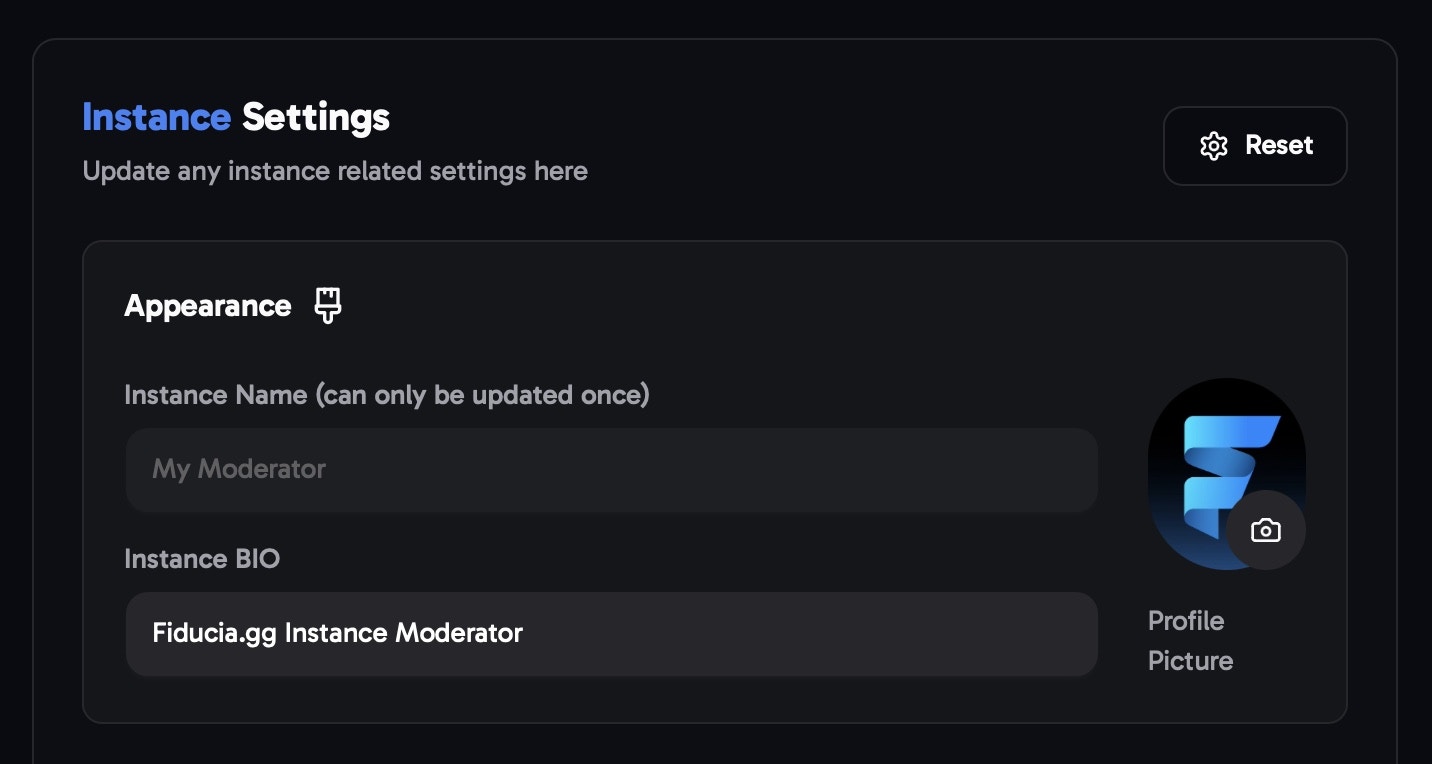
Spam detection
Spam detection
1. you can determine how many post/comments are allowed to be posted in a certain time frame, using the Timeframe slider and the Max posts/comments boxes.2. Additionally you can turn on that excessive posts/comments get deleted automatically.