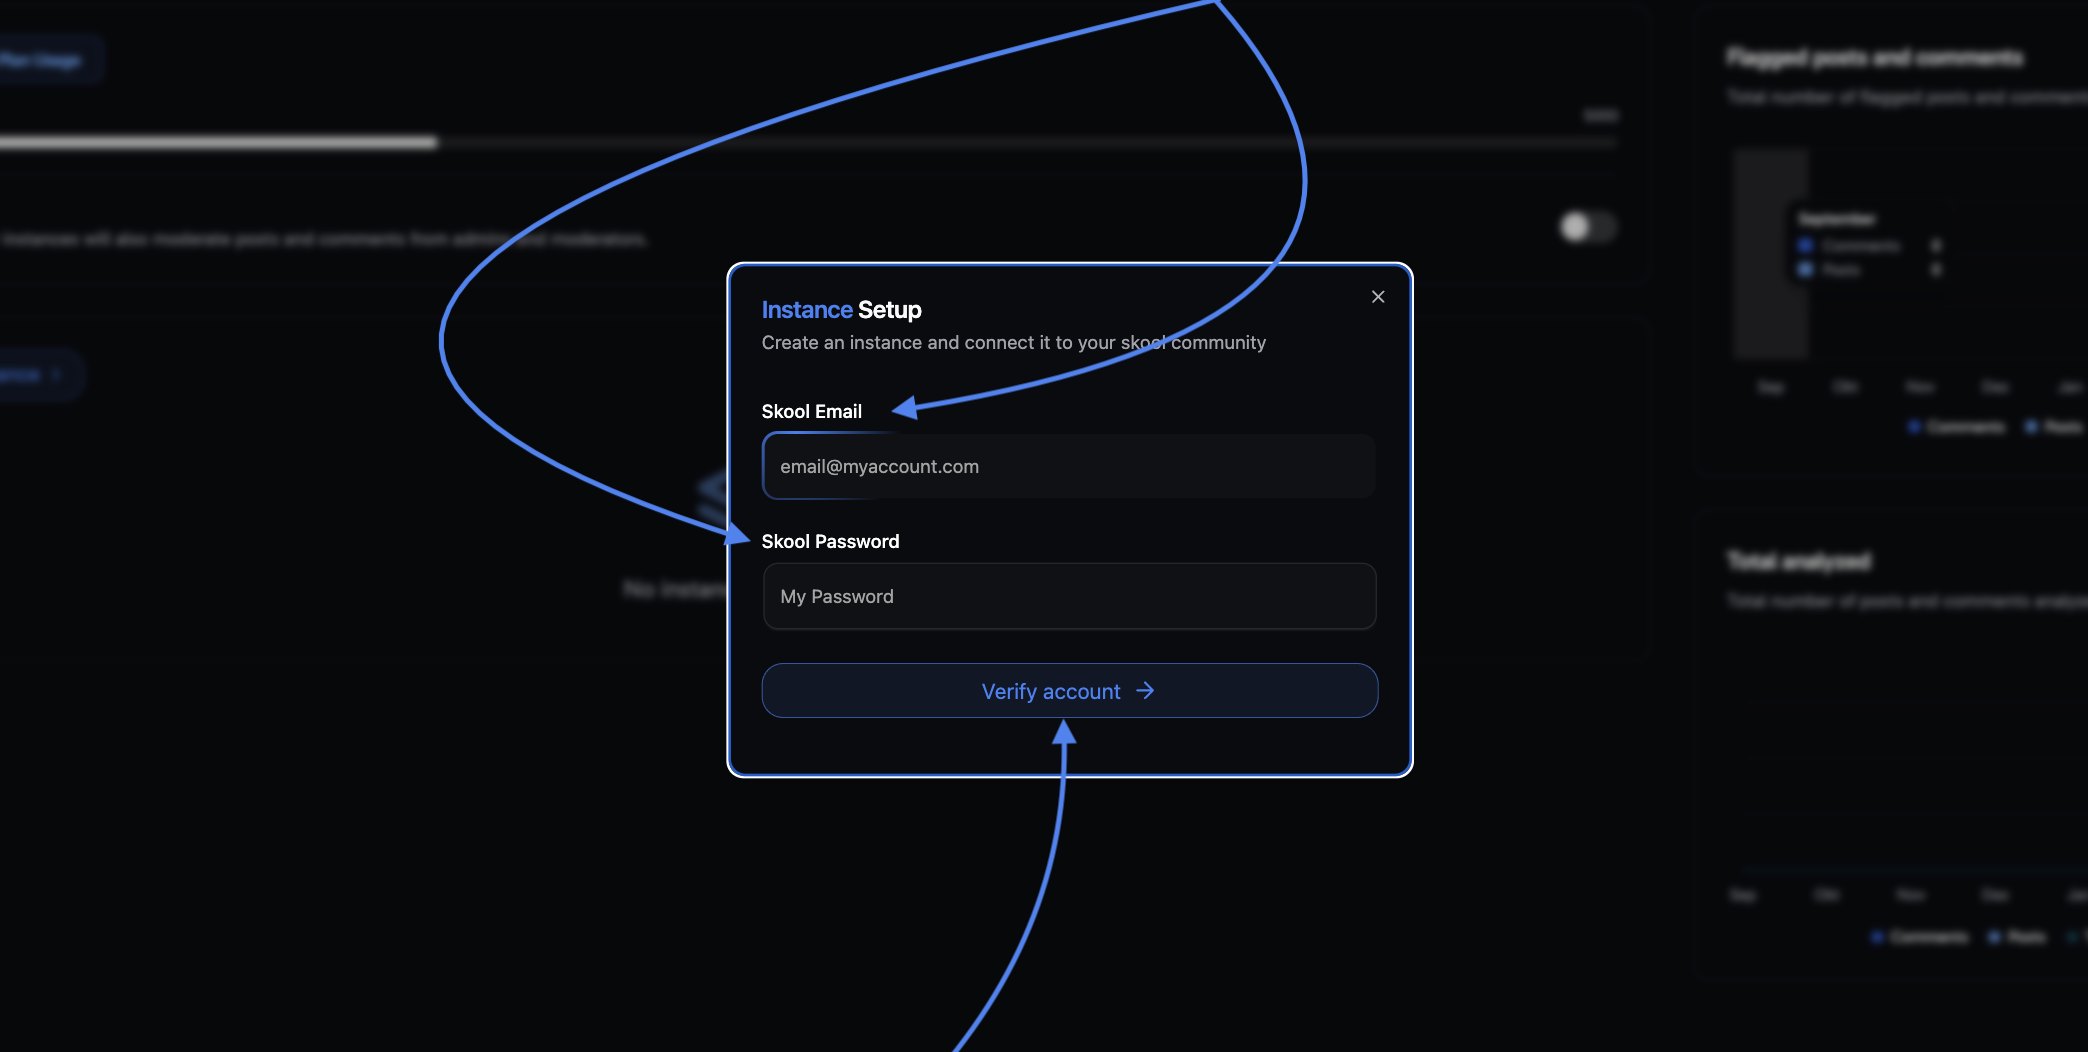
Get started
Enter Skool login credentials to connect your account
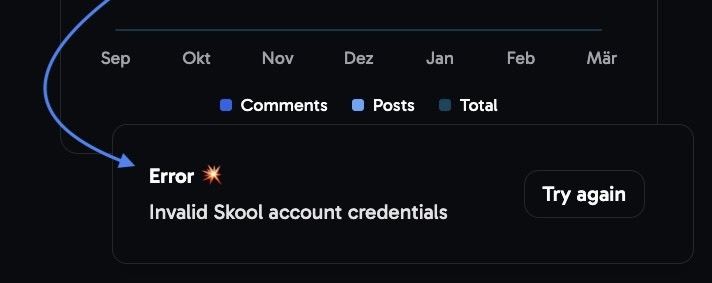
Incorrect account credentials?
Incorrect account credentials?
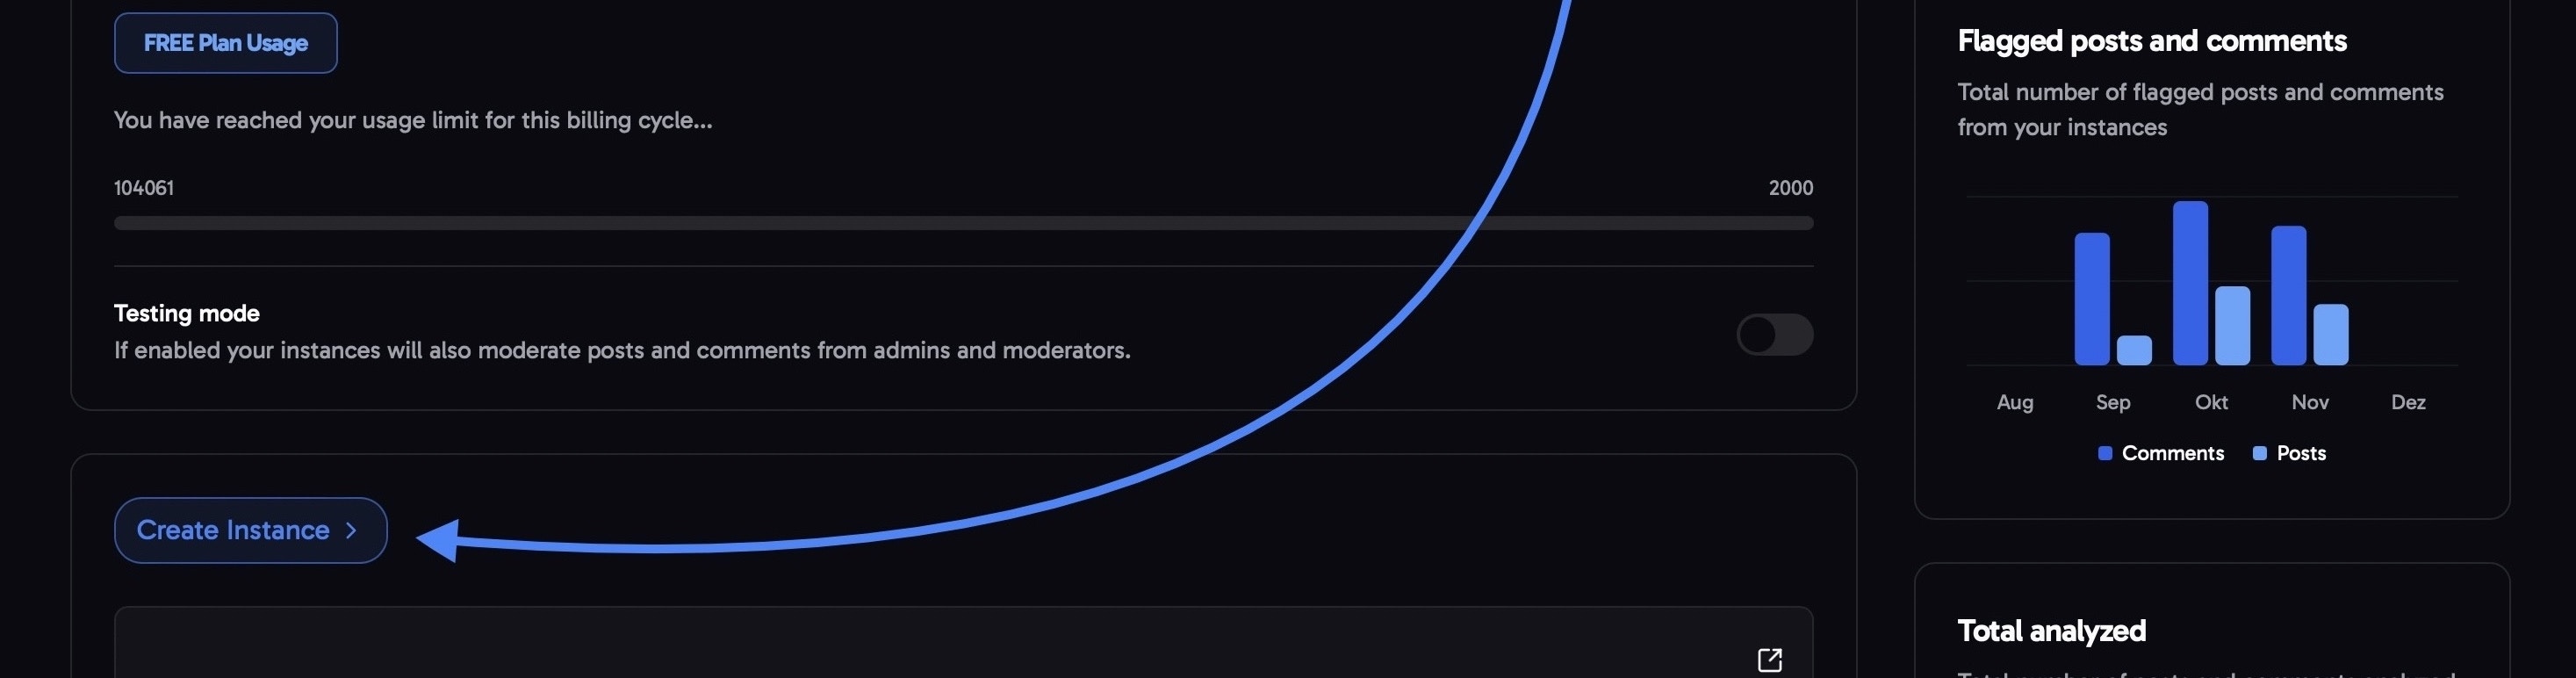
Community setup options

Use invite
Use invite

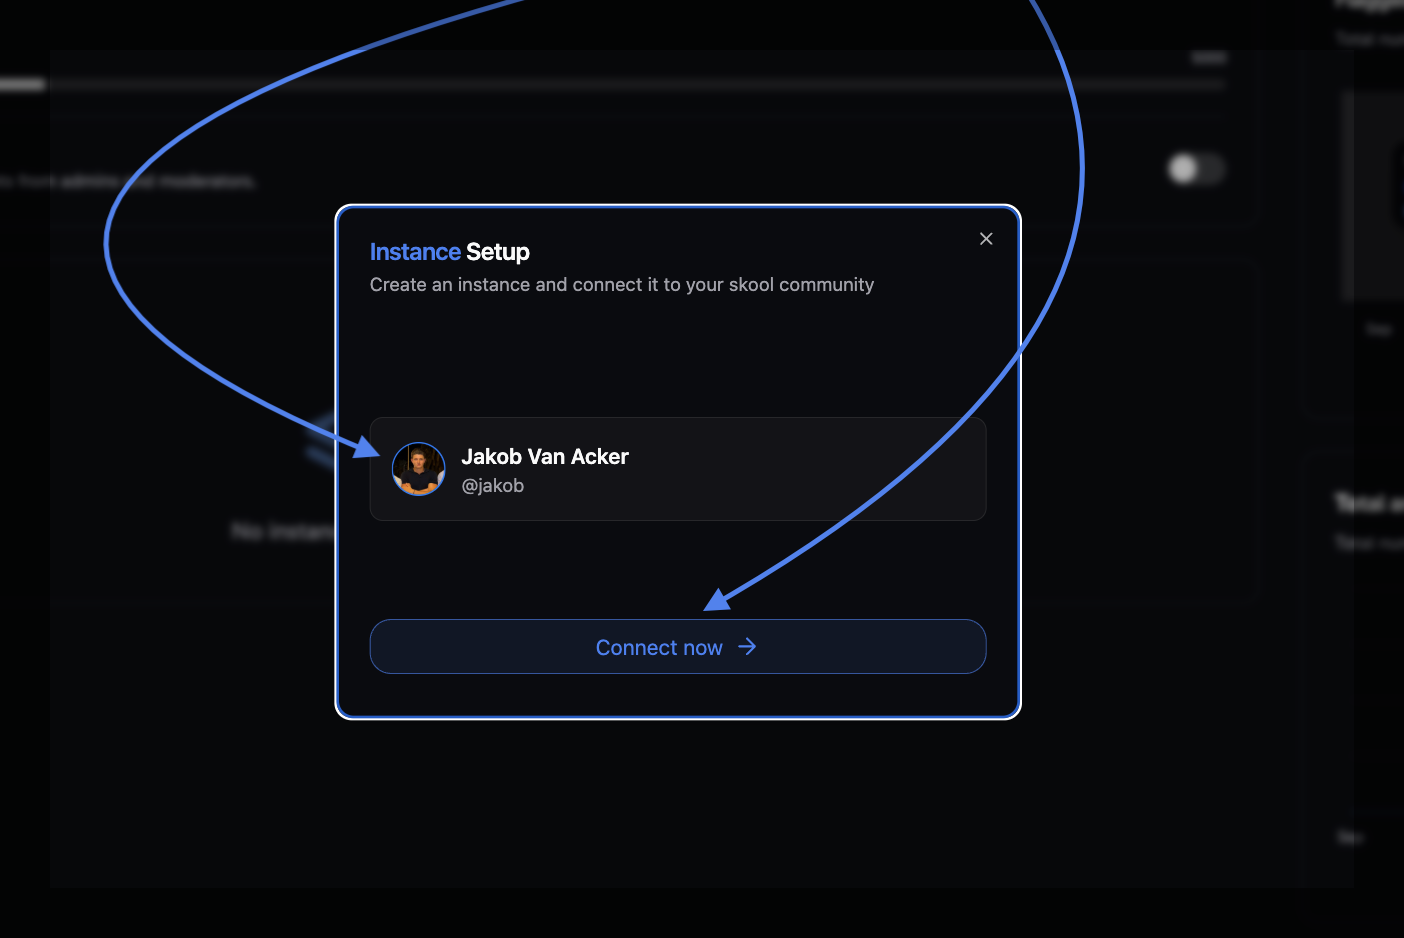
Give your 'instance' a name of your choice.
side-note: This name appears solely in the Fiducia dashboard and isn’t visible to your community members.
Paste the copied email into the ‘Email Address’ field and hit send.
Wait for a couple of seconds → in tandem Fiducia will automatically connect to your account.
→ Now Fiducia should be properly installed in your community via the invite
If any issues occurred, please check if you missed any of the steps, or wright us an email here for further support.
Request membership
Request membership

Give your 'instance' a name of your choice.
Side-note: This name appears solely in the Fiducia dashboard and isn’t visible to your community members.
Hit ‘Create’ to initiate the membership request
Wait for a couple of seconds → in tandem Fiducia will automatically connect to your account.
Now Fiducia should be properly installed in your community via the ‘Request membership’ option
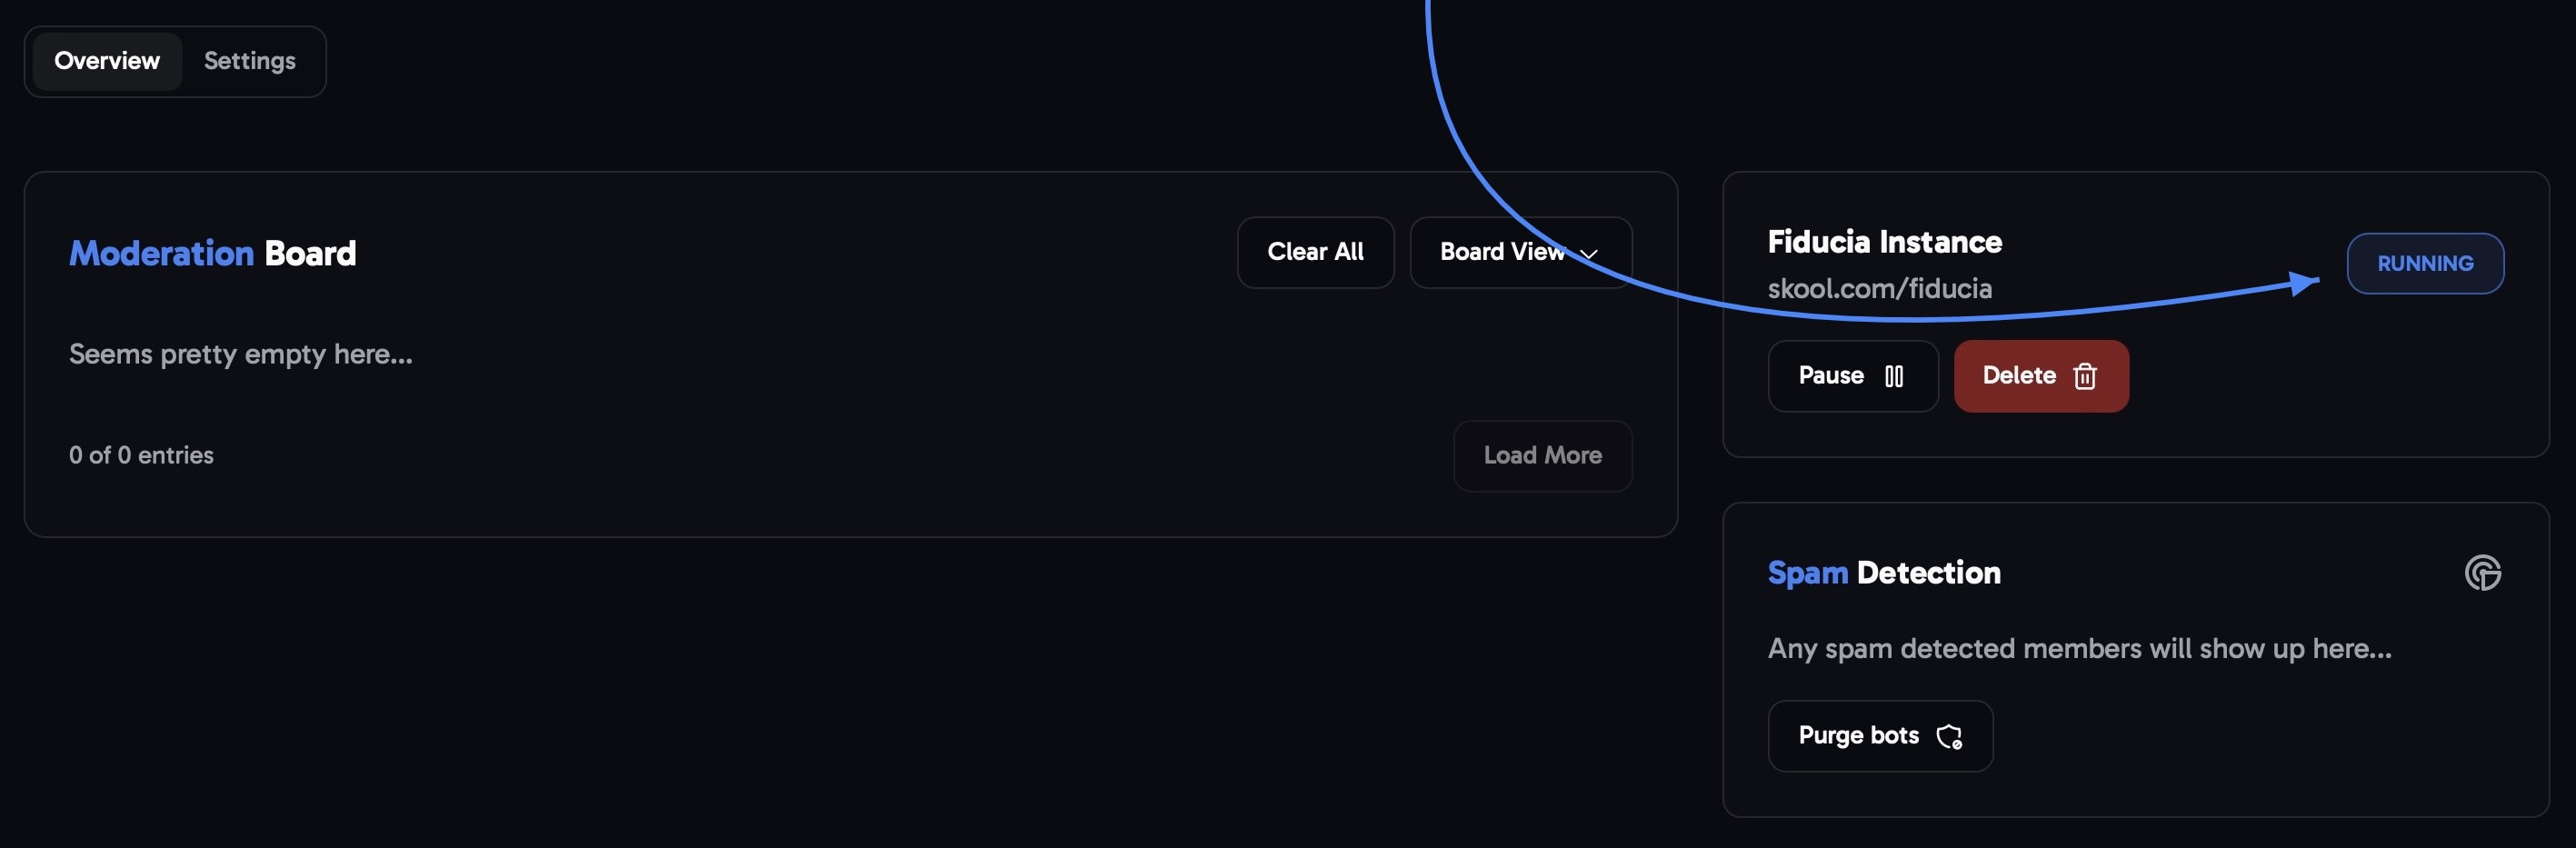
Check the setup
After going through the setup, click the instance that was created in your dashboard. This will open the Overview page.