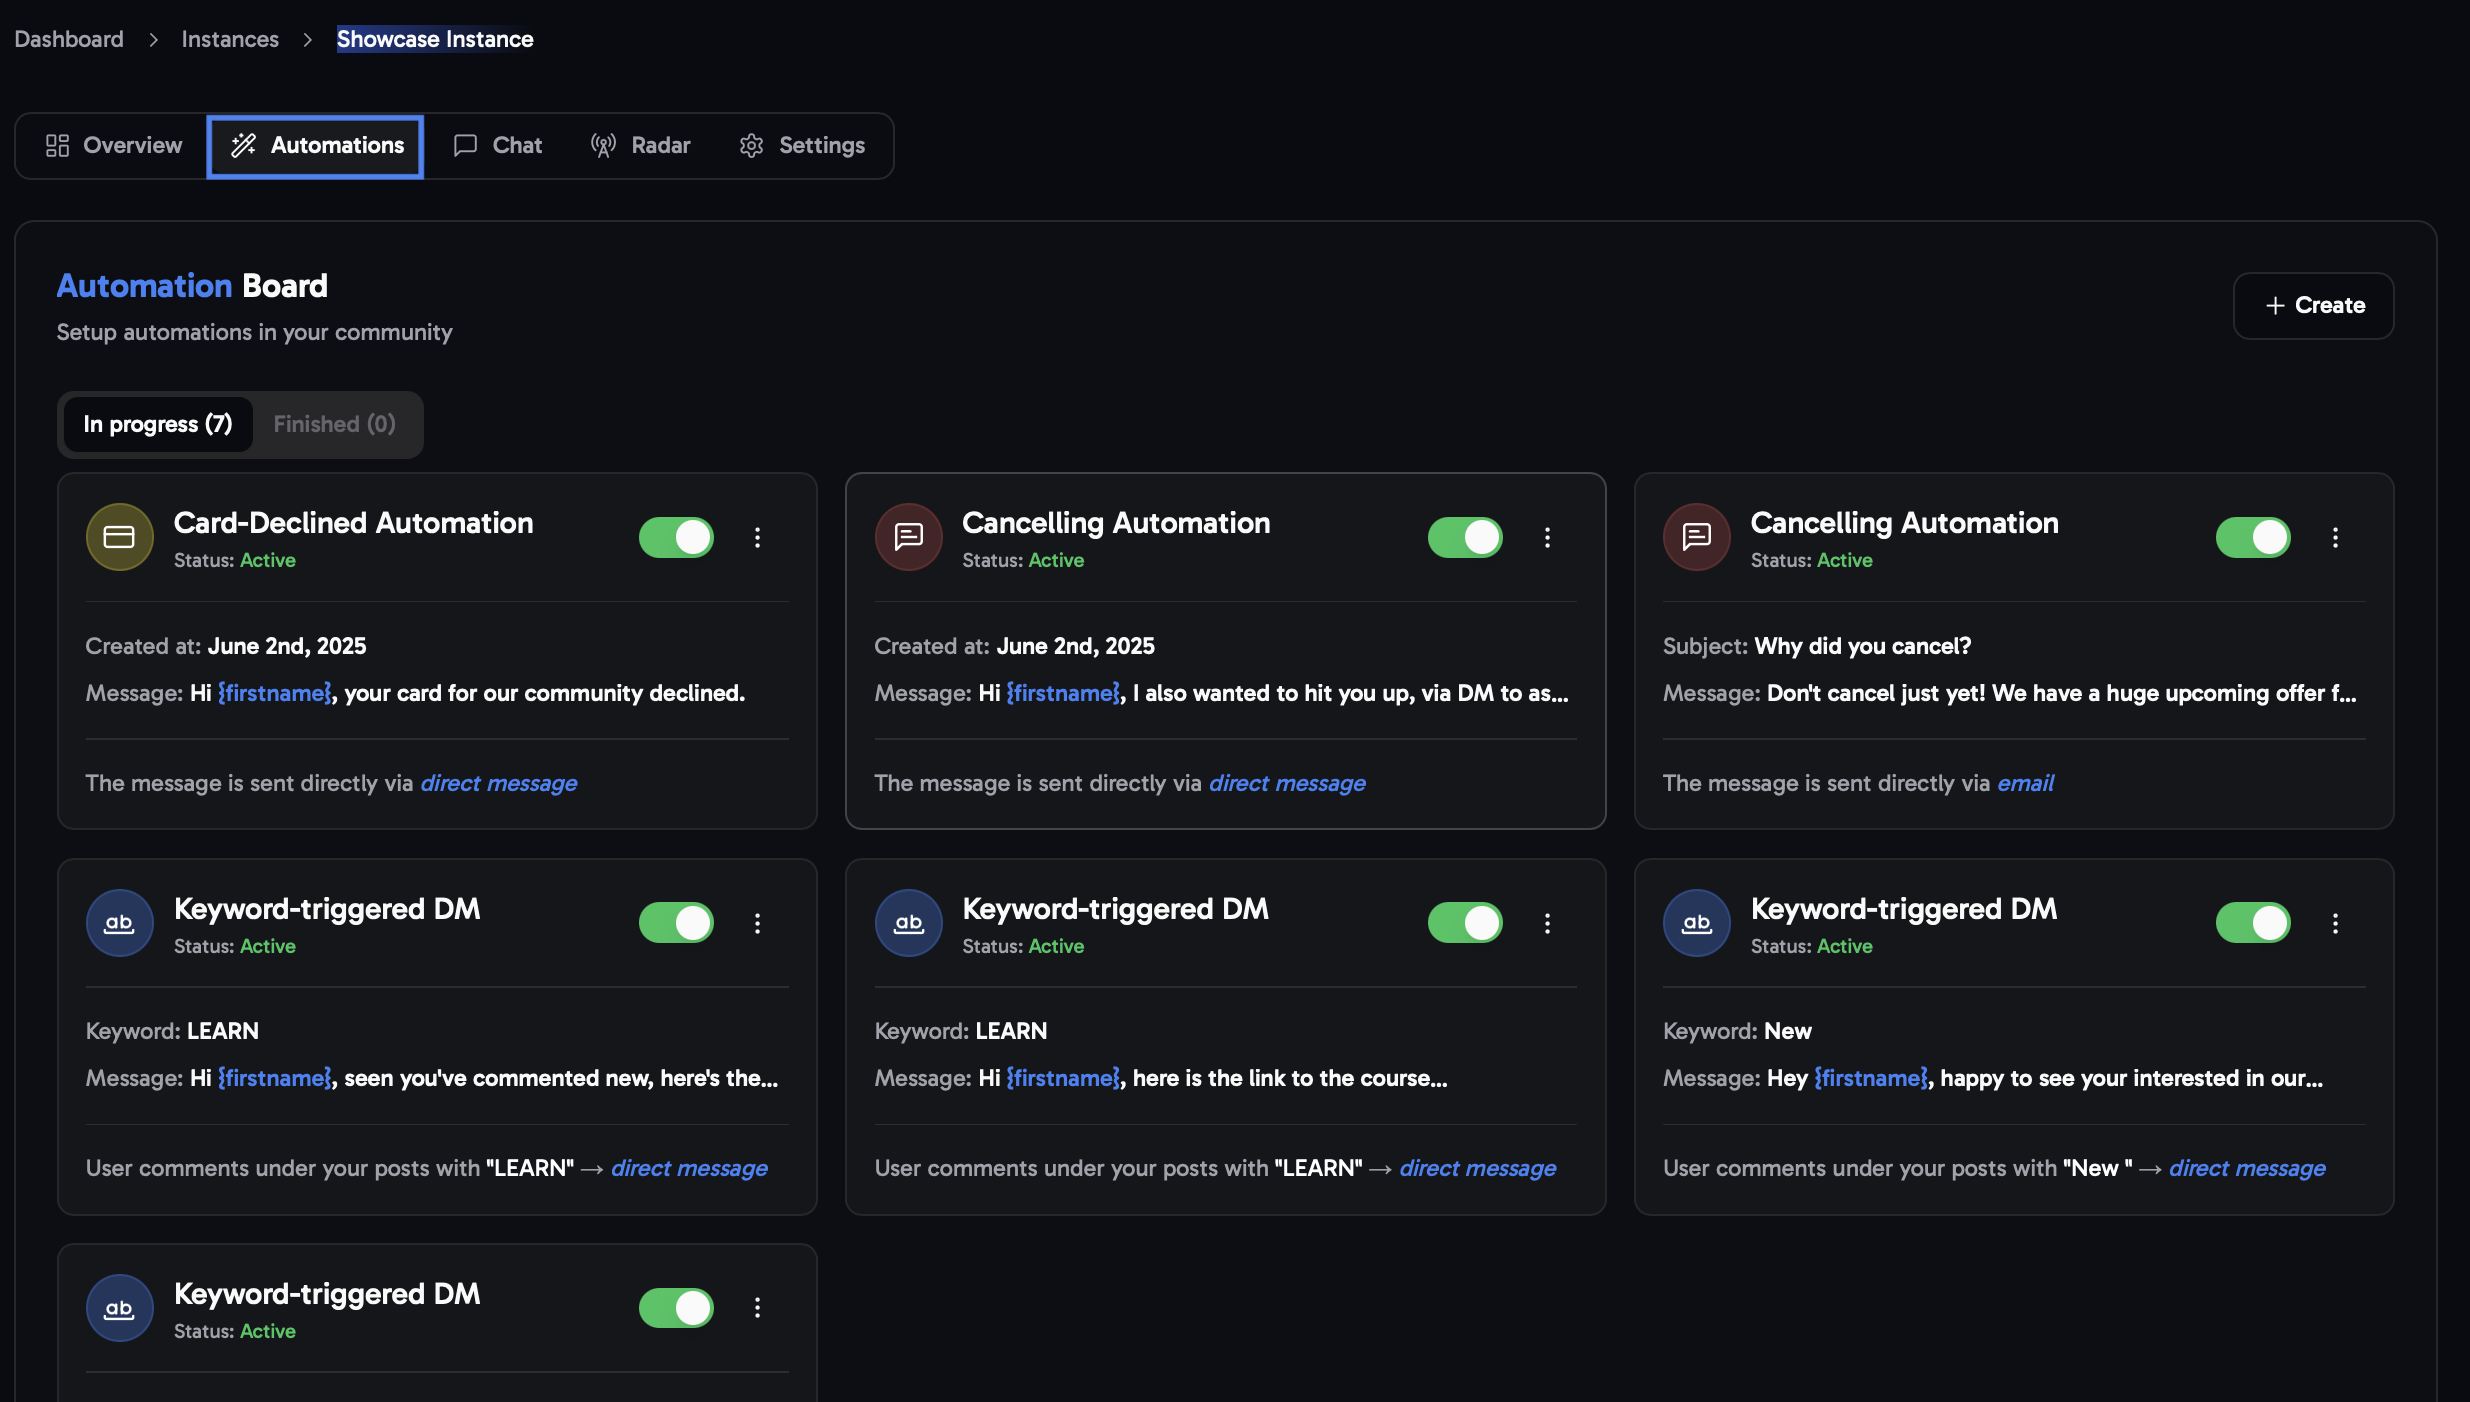
Creating Automations
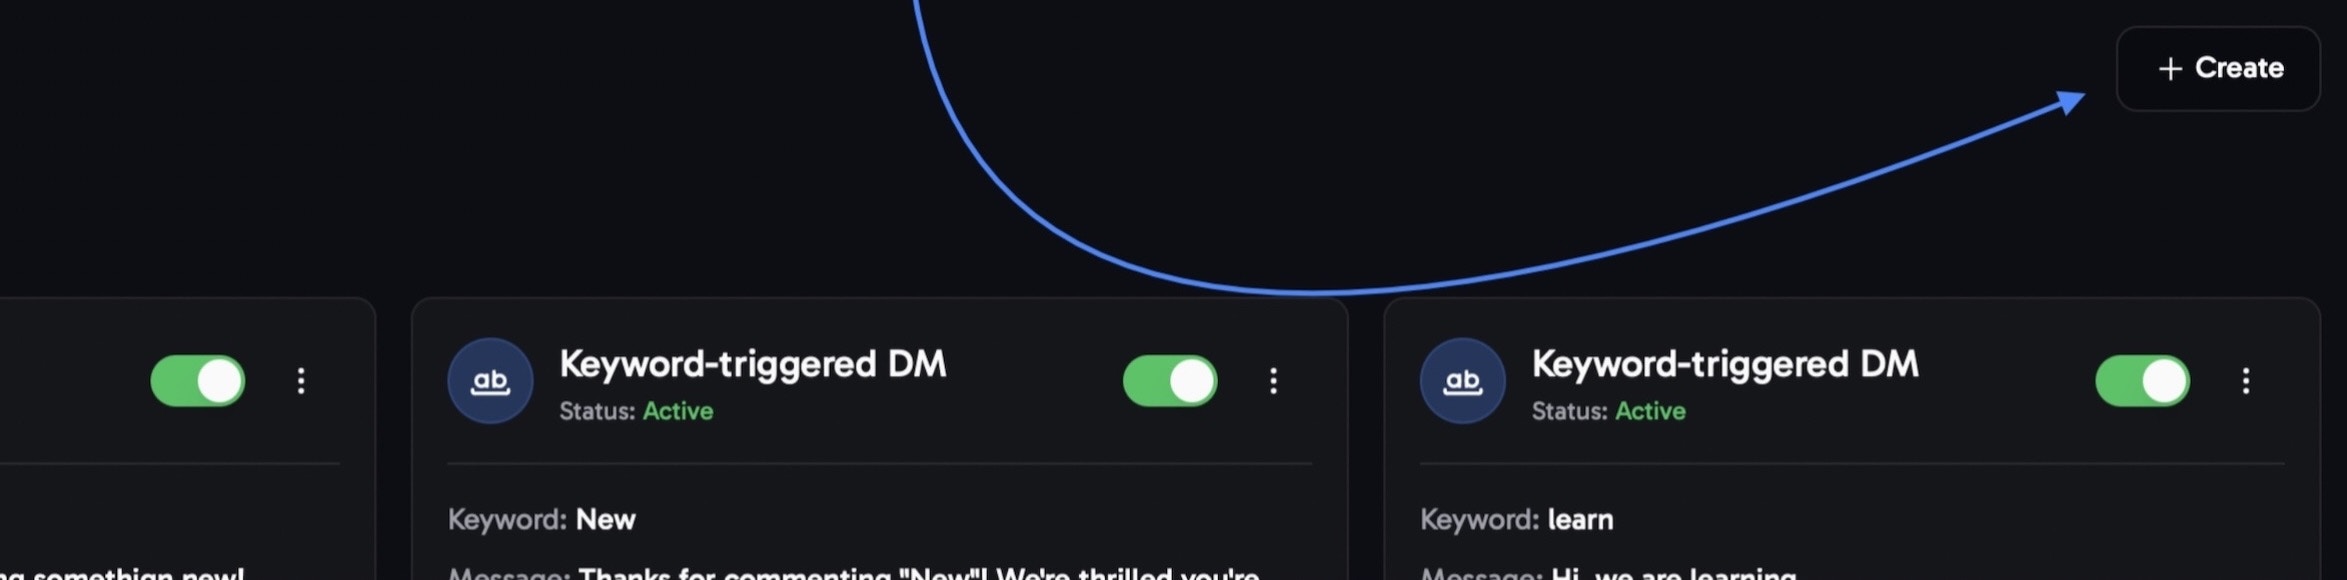
To start off head to the Automations tab and create click theCreate button in the top right. If you cannot see the tab you might still be on your instance overview. To resolve this take a look at the Quick Start
You can choose from these five different options:

Auto-Dms from comments
Auto-Dms from comments
Keyword-triggered AutoDM
This automation is always linked to a post and is triggered whenever someone comments with a specific keyword. The system detects the comment in real-time and immediately sends a predefined message to their inbox.AutoDMs have multiple use cases and could be utilized for complex onboarding flows or simple announcements within your community.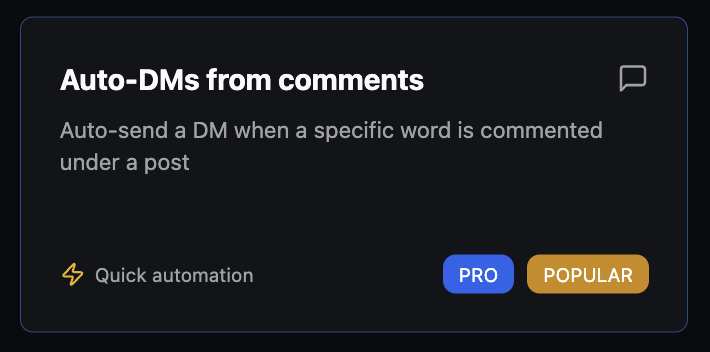
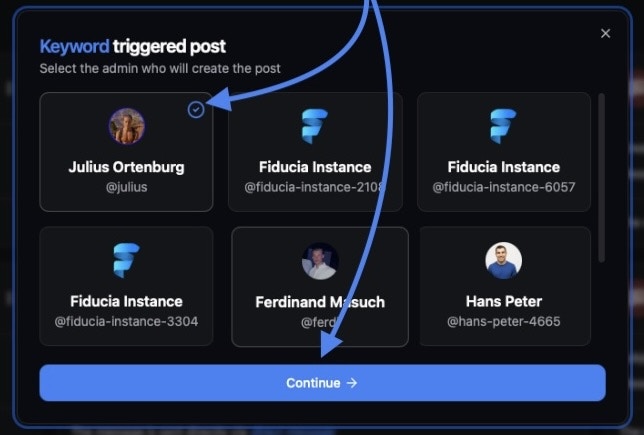
Set a Keyword, Compose your Message & Auto-Tag Recipients
Set the ‘keyword’ users should comment to trigger an automatic direct message.
If desired, assign a tag to be applied to all users who comment with this keyword.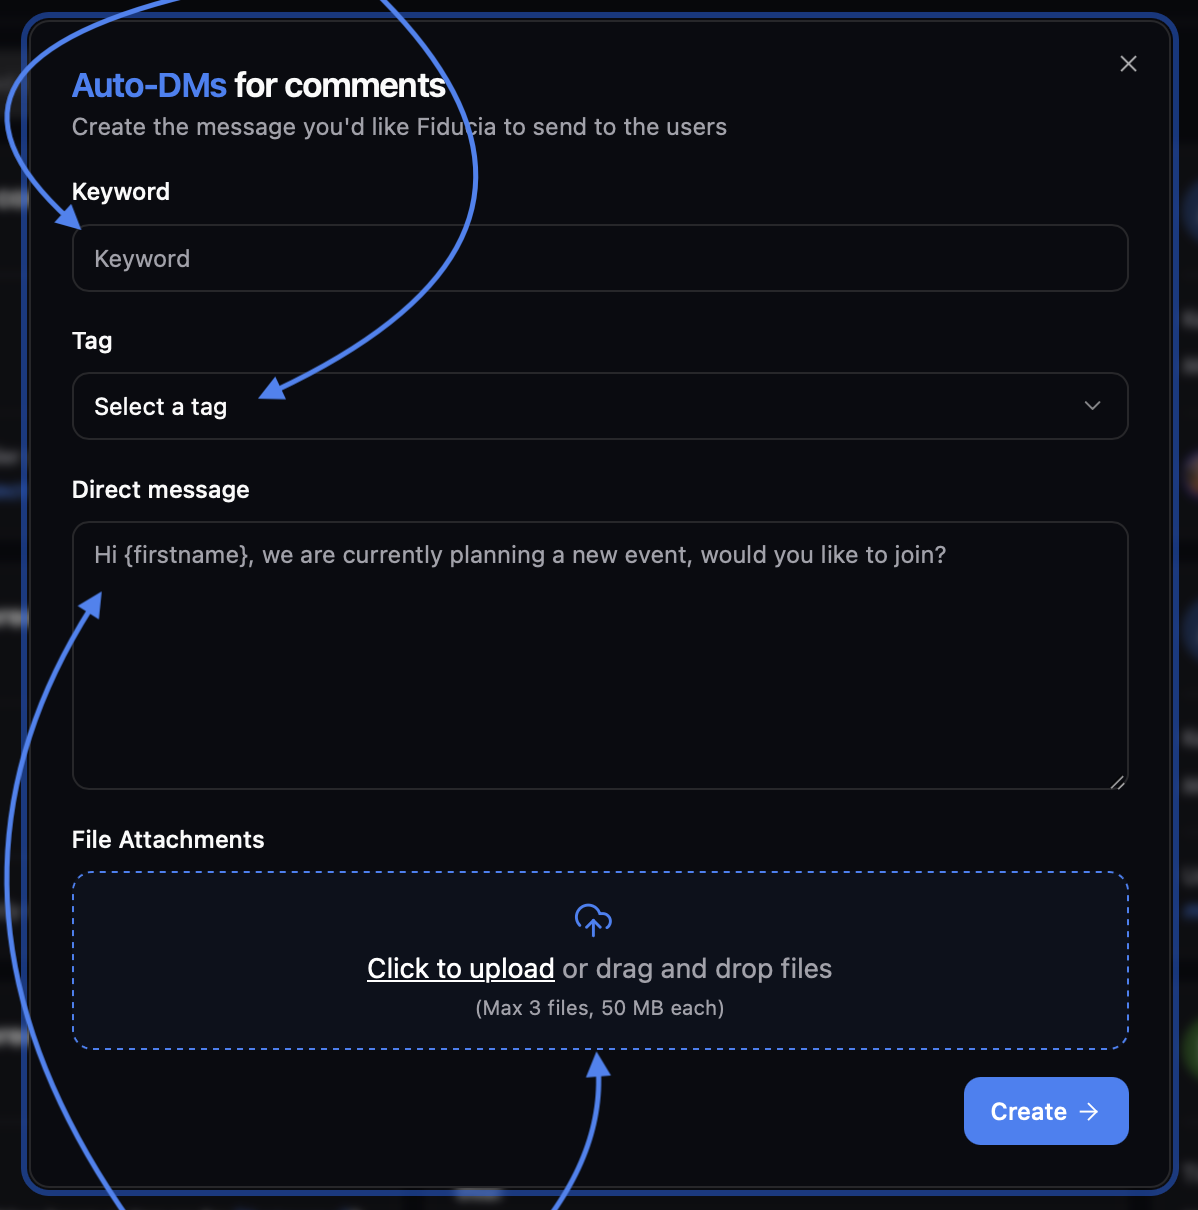
If desired, assign a tag to be applied to all users who comment with this keyword.
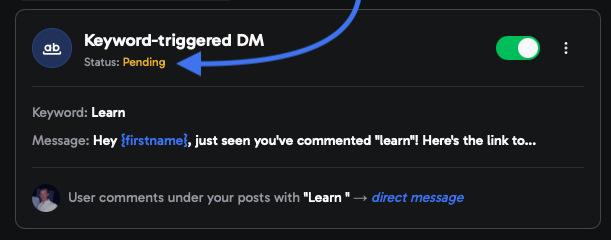
The keyword is not case sensitive, meaning
learn and LEARN is equivalent.Have the selected admin create the post and attach a call to action
The post should contain the keyword, so the reader knows exactly what to comment. An example post could include:
Comment the word "LEARN" to receive a link to my new course.After creating the associated post, the automation should appear as active ✅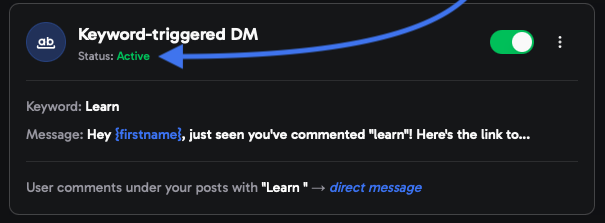
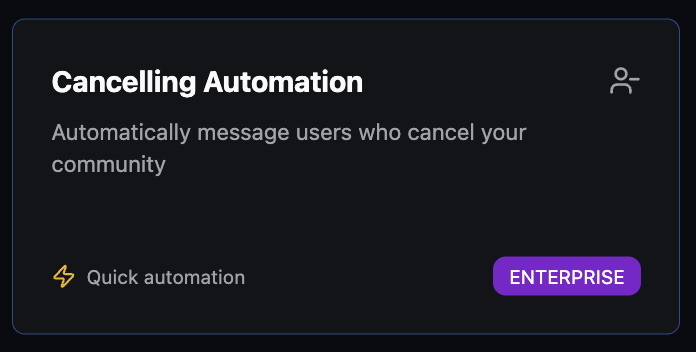
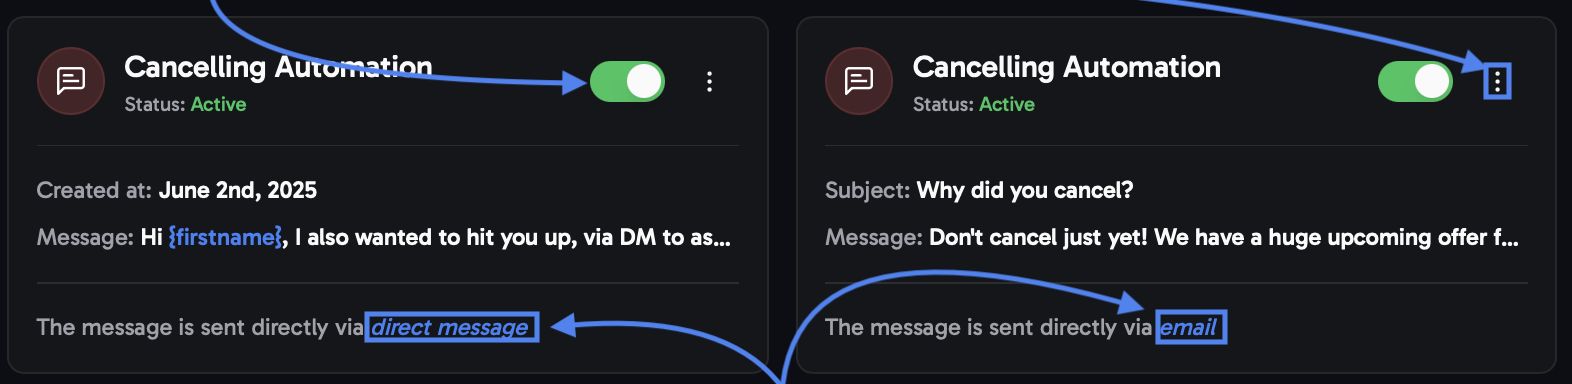
Cancelling Automation
Cancelling Automation
Select your preferred outreach method.
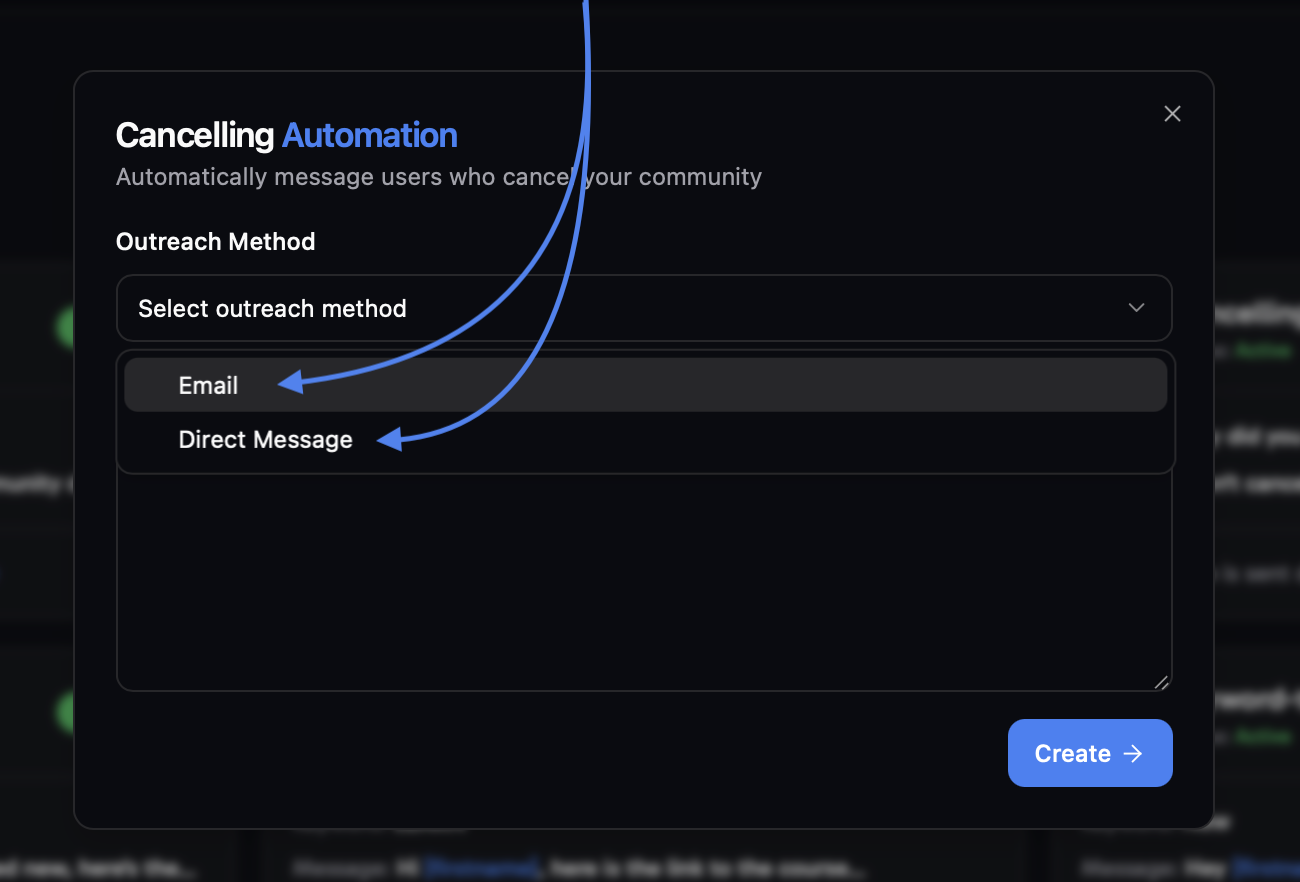
Choose between these two outreach strategies:
Email
Make sure to fill out both the ‘Subject’ and ‘Message’ fields.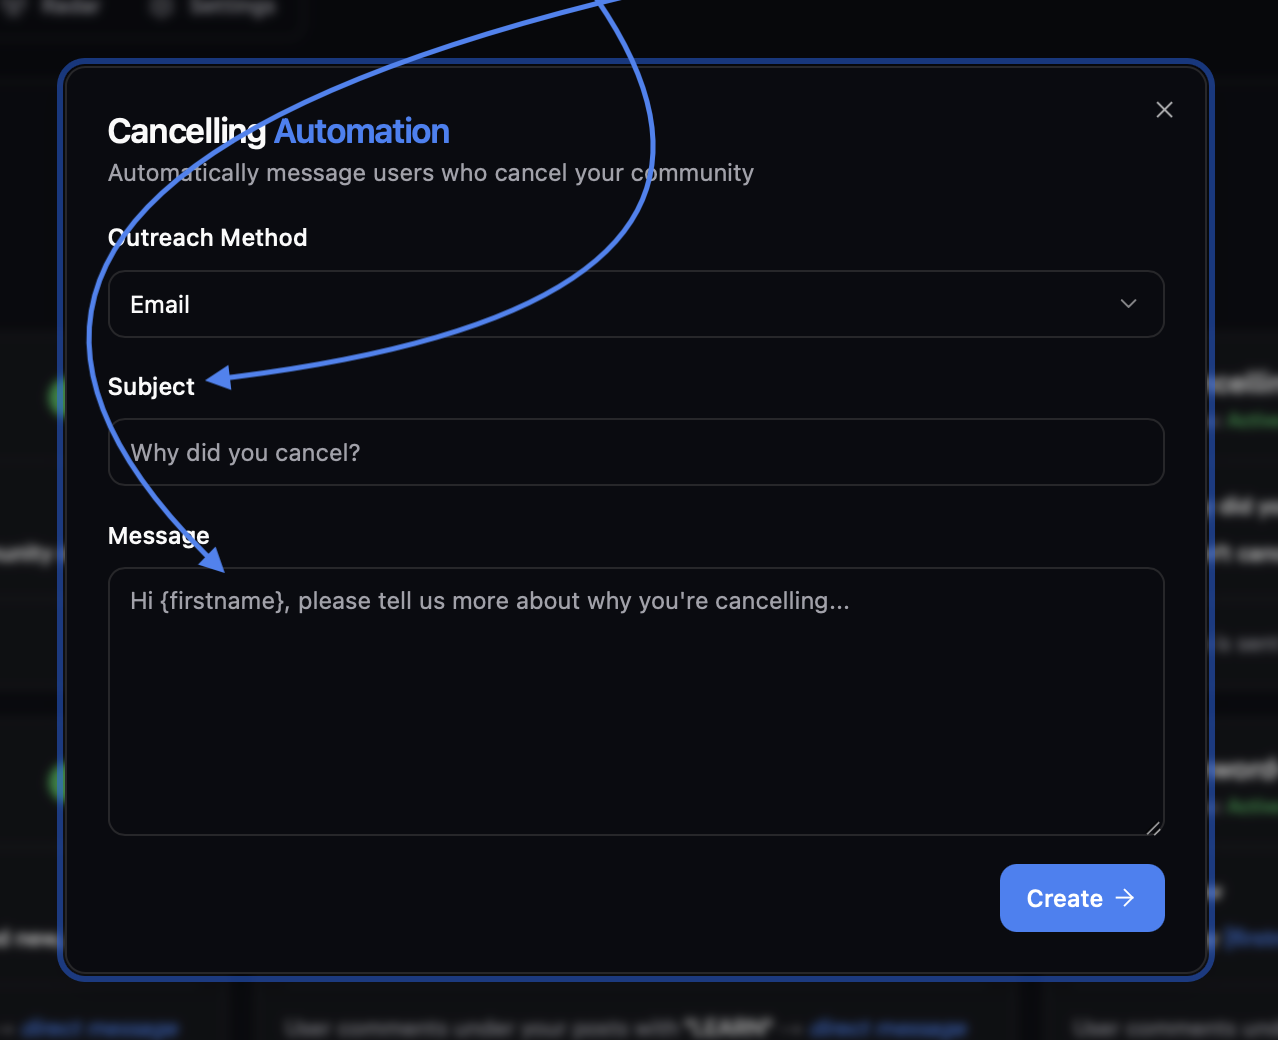
After clicking “Save settings,” this pop-up should appear in the bottom right corner. ✅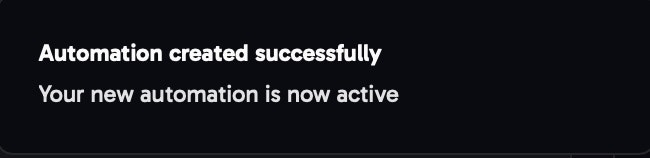
Direct message (via Skool)
Direct message (via Skool)
Fill out the ‘Message’ field to compose your Direct Message.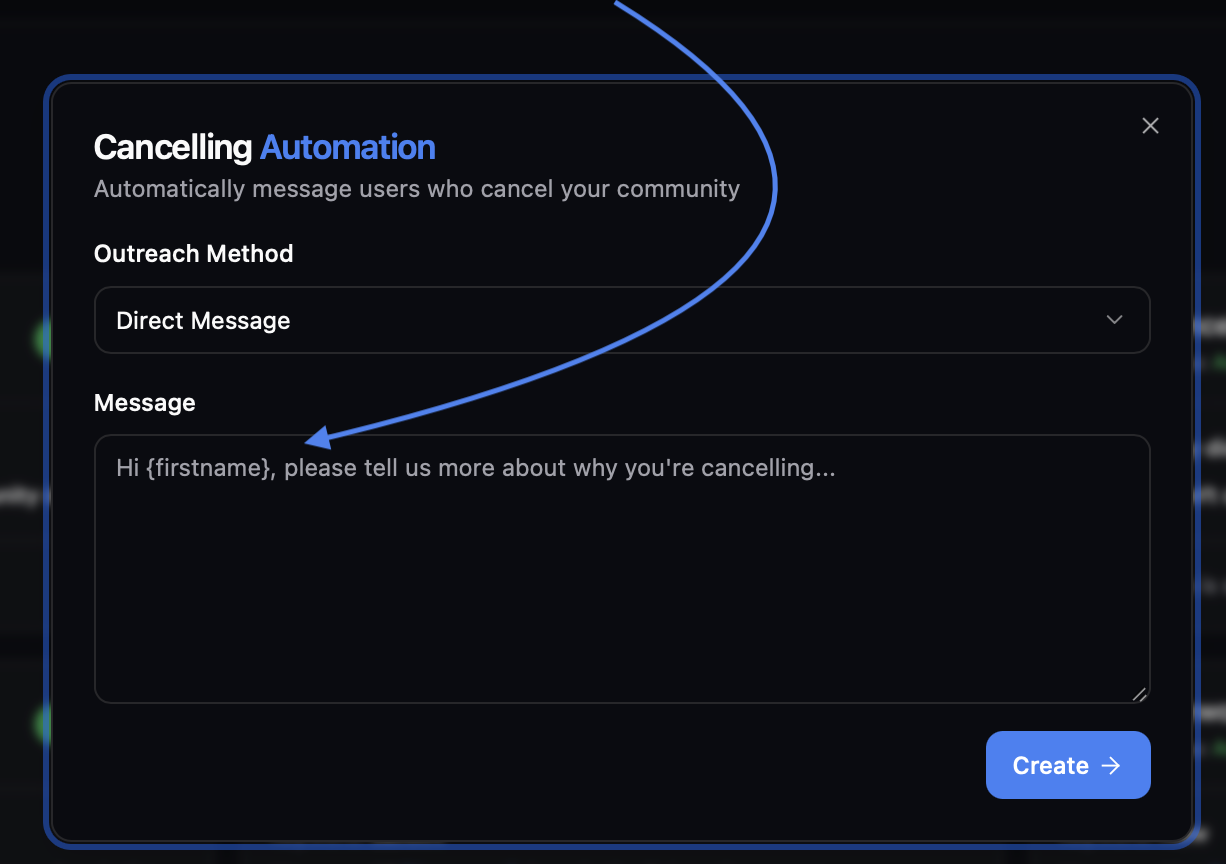
After clicking “Save settings,” this pop-up should appear in the bottom right corner. ✅
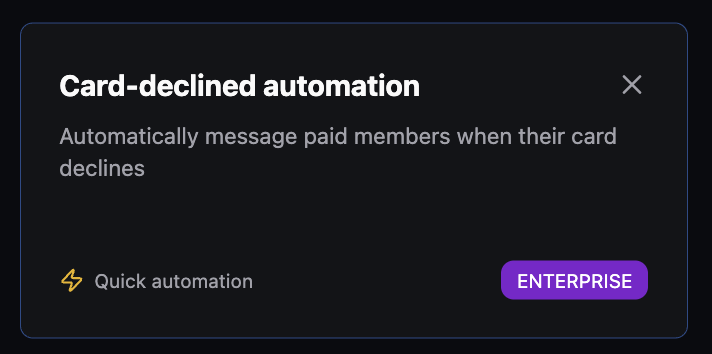
Card-declined automation
Card-declined automation
Select your prefered outreach method
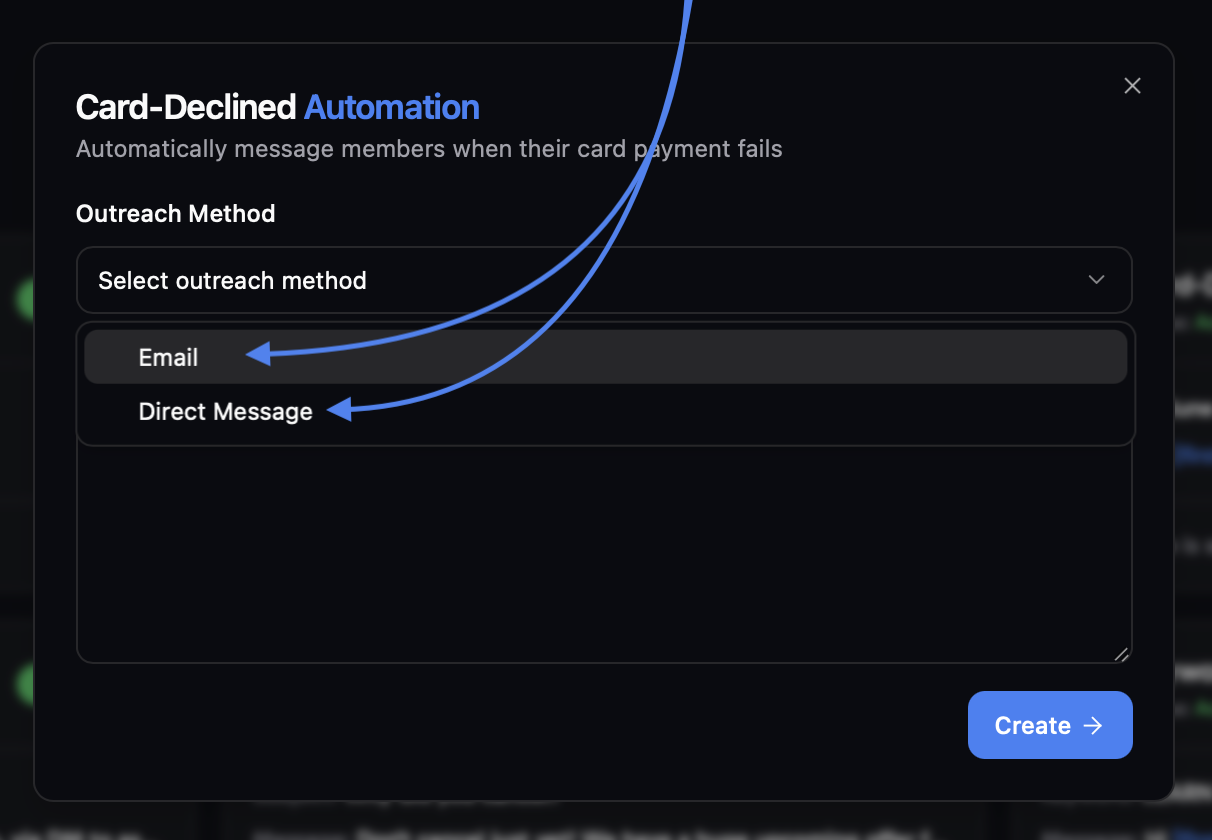
Choose between these two outreach strategies:
Email
Make sure to fill out both the ‘Subject’ and ‘Message’ fields.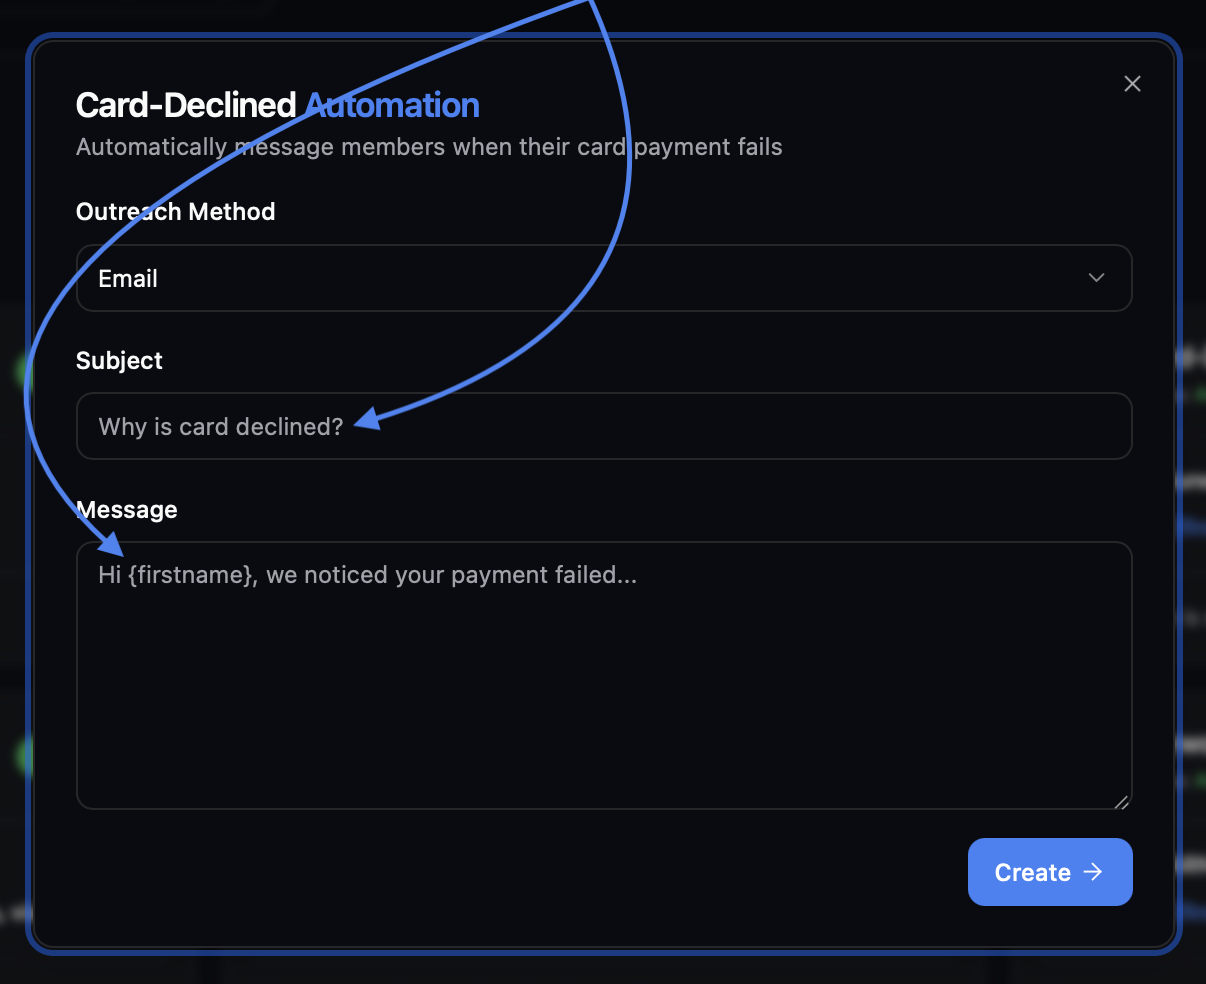
After clicking “Save settings,” this pop-up should appear in the bottom right corner. ✅
Direct message (via Skool)
Direct message (via Skool)
Fill out the ‘Message’ field to compose your Direct Message.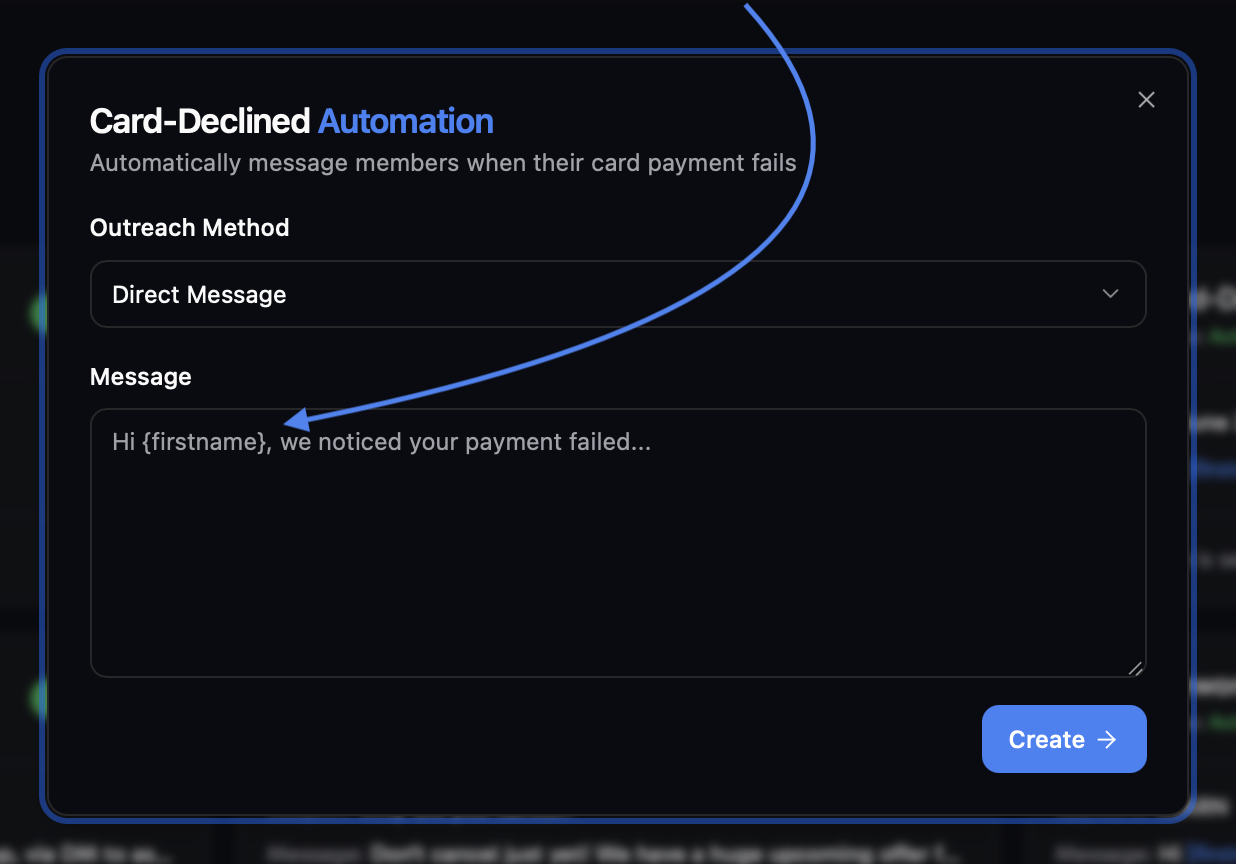
After clicking “Save settings,” this pop-up should appear in the bottom right corner. ✅
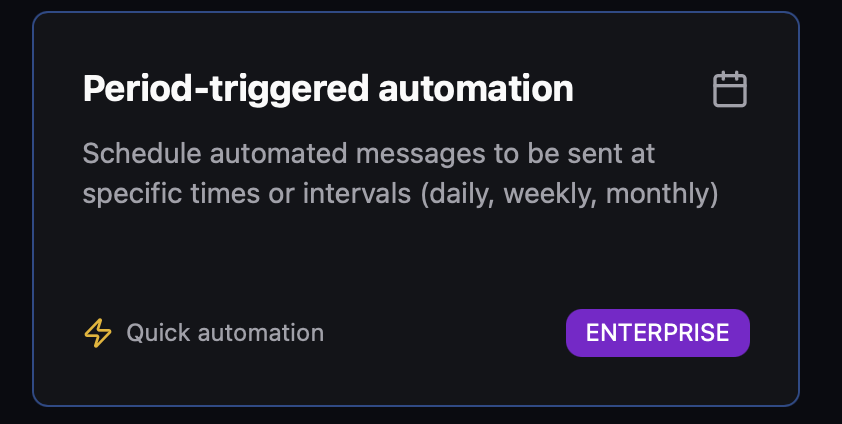
Period-triggered automation
Period-triggered automation
Choose a time period after which you want to send a message
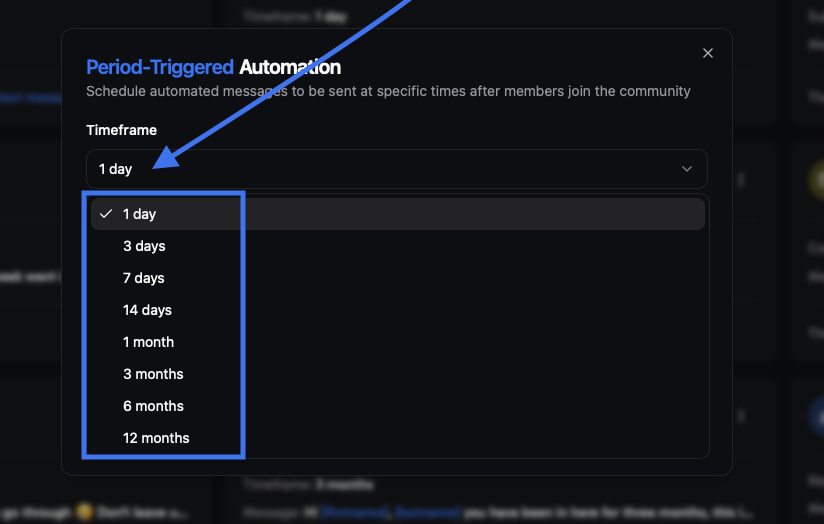
Once defined, the message will be delivered based on when members first joined your community

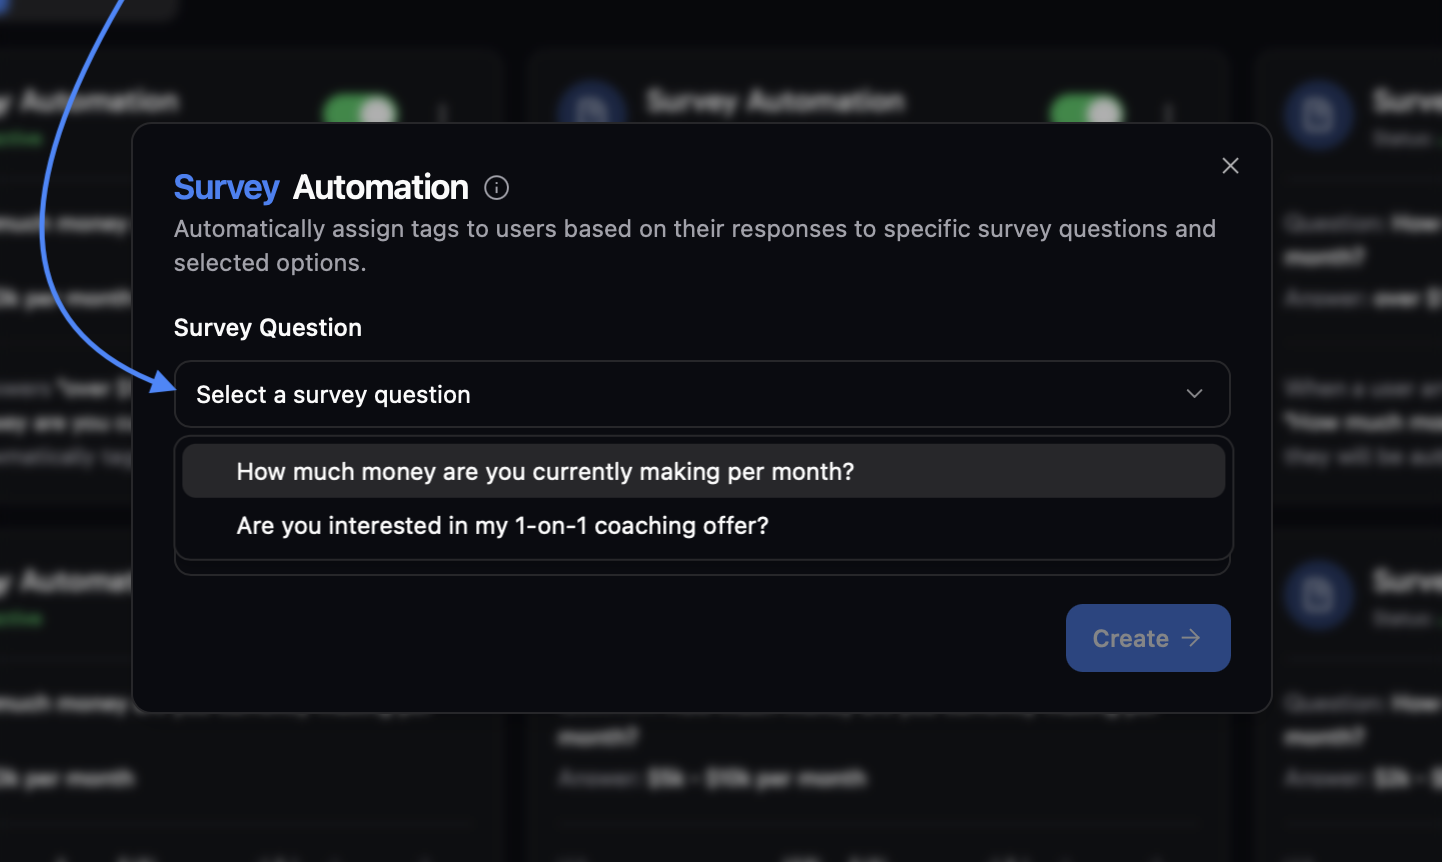
Survey automation
Survey automation
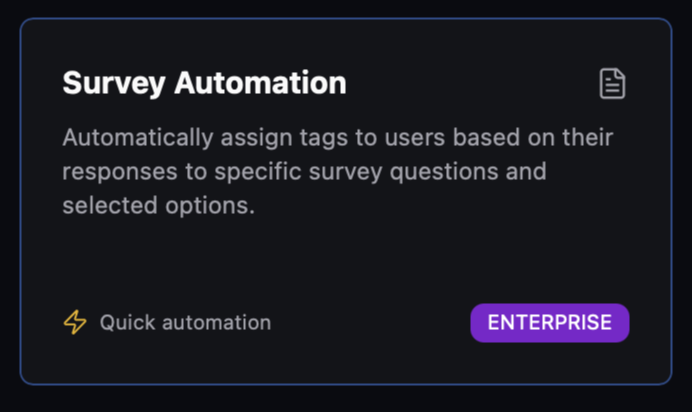
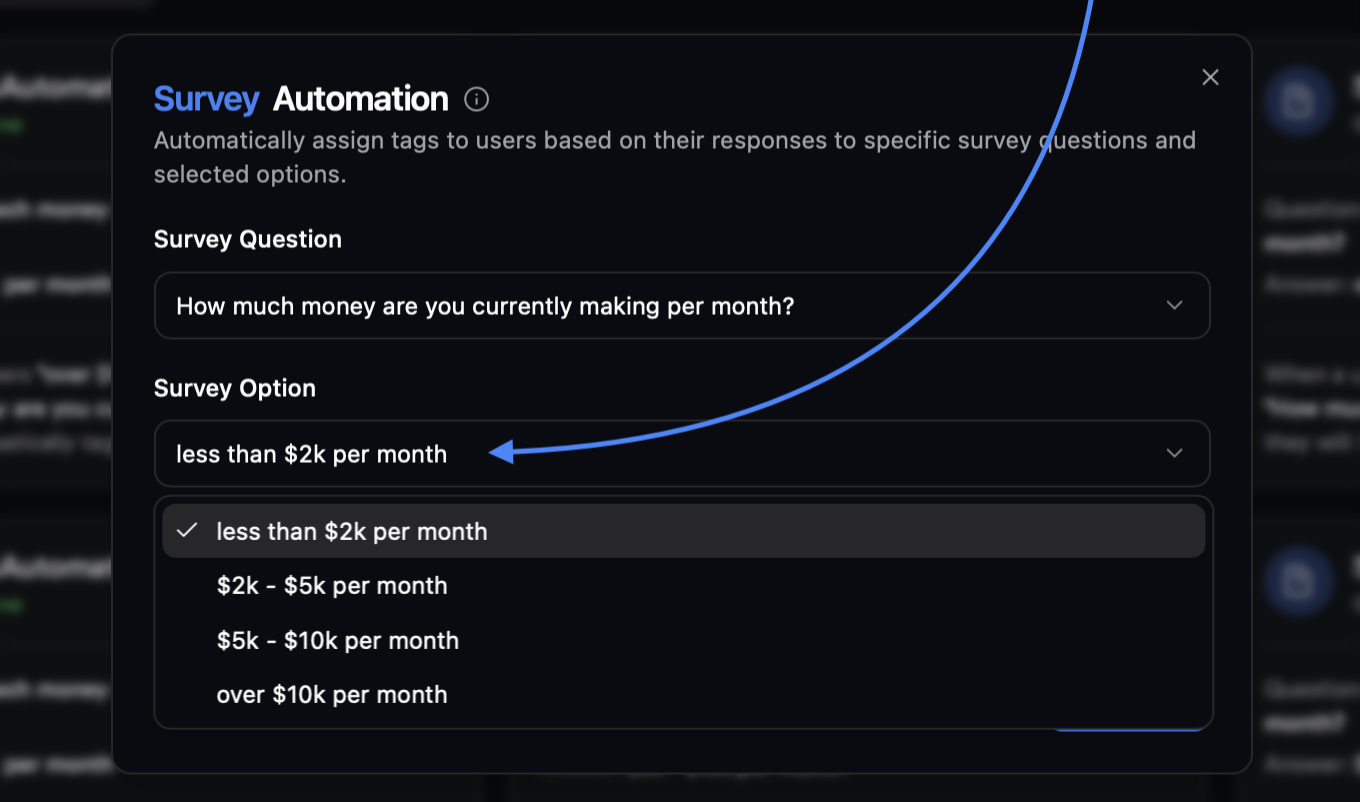
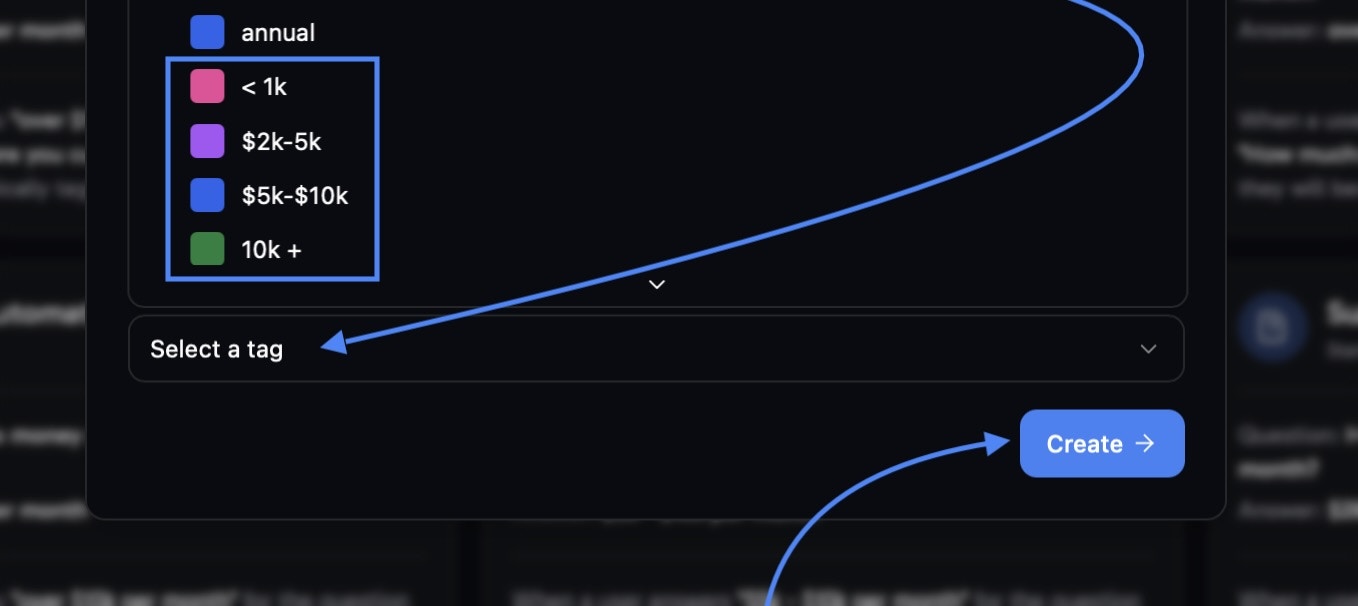
Pick a membership question to auto-tag new members based on survey answers
Tip: Here’s an example of a great use case for this automation. 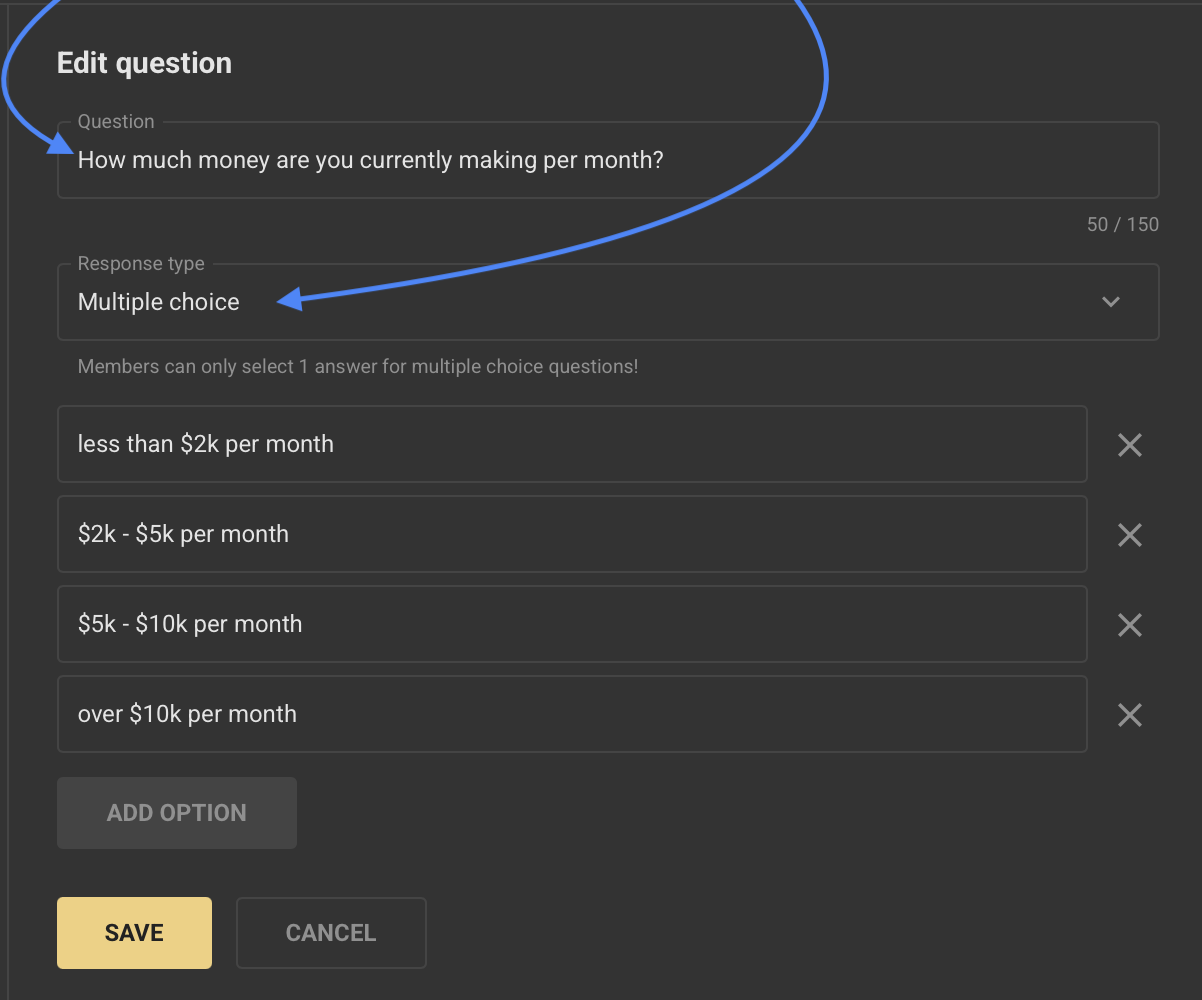
If you can’t access the Period or survey automations, you’re on the Pro plan, which has limitations. You can upgrade anytime by reaching out here.
If any issues occurred with installing the tool, please check if you missed any of the steps, or contact us here for further support.